Setup Spark Director
Configure IFTTT Services
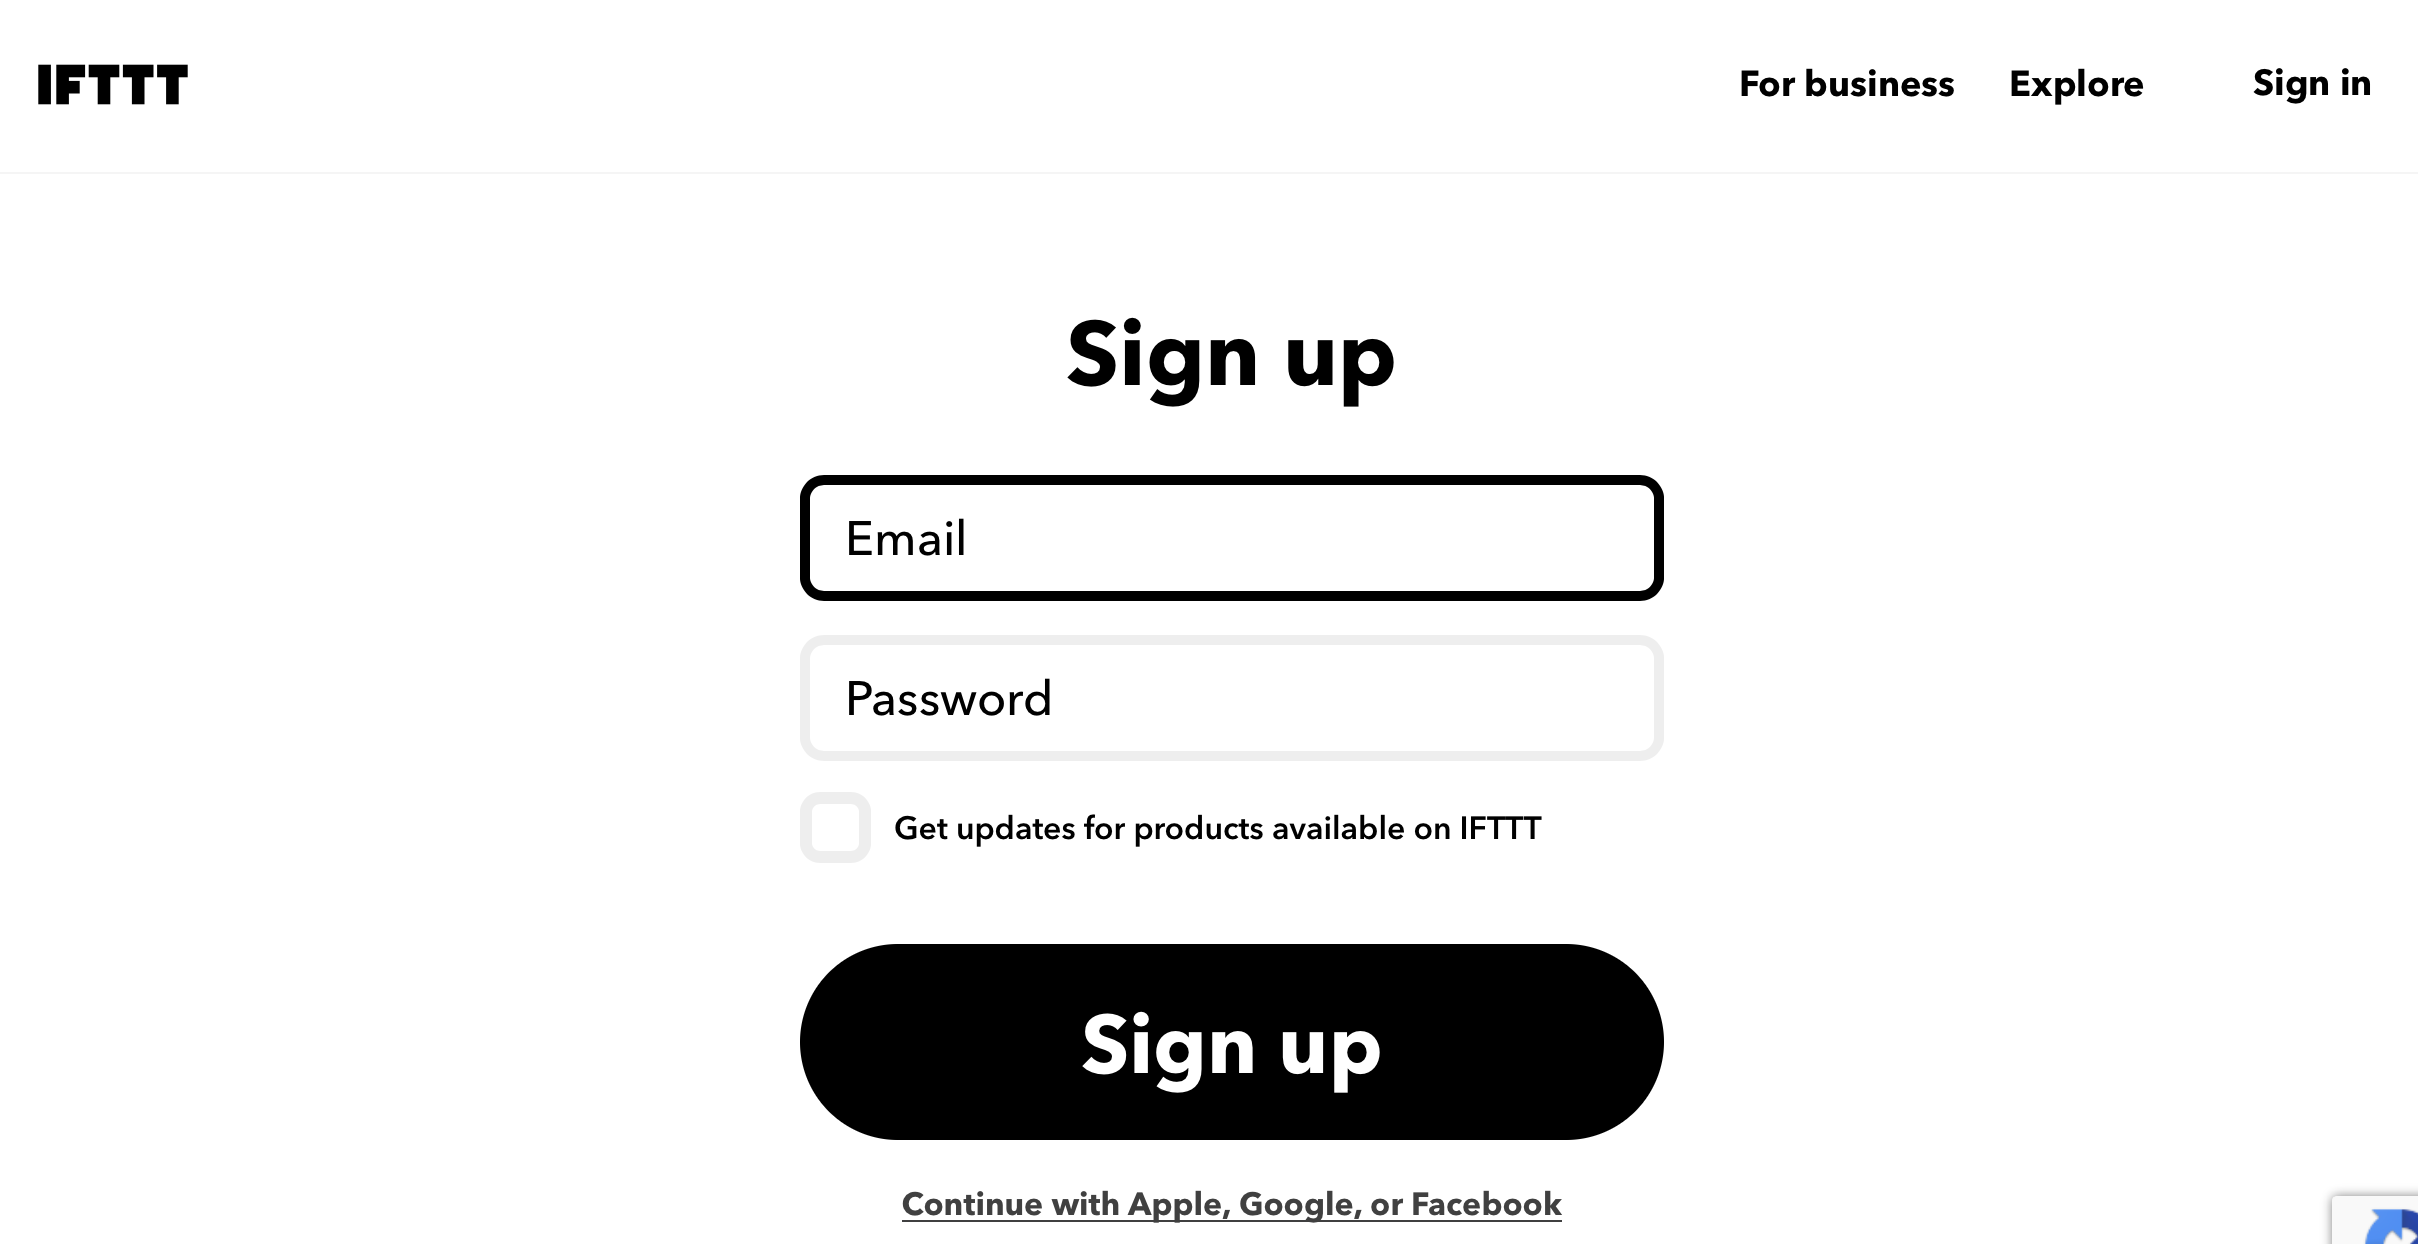
- Create an IFTTT account here
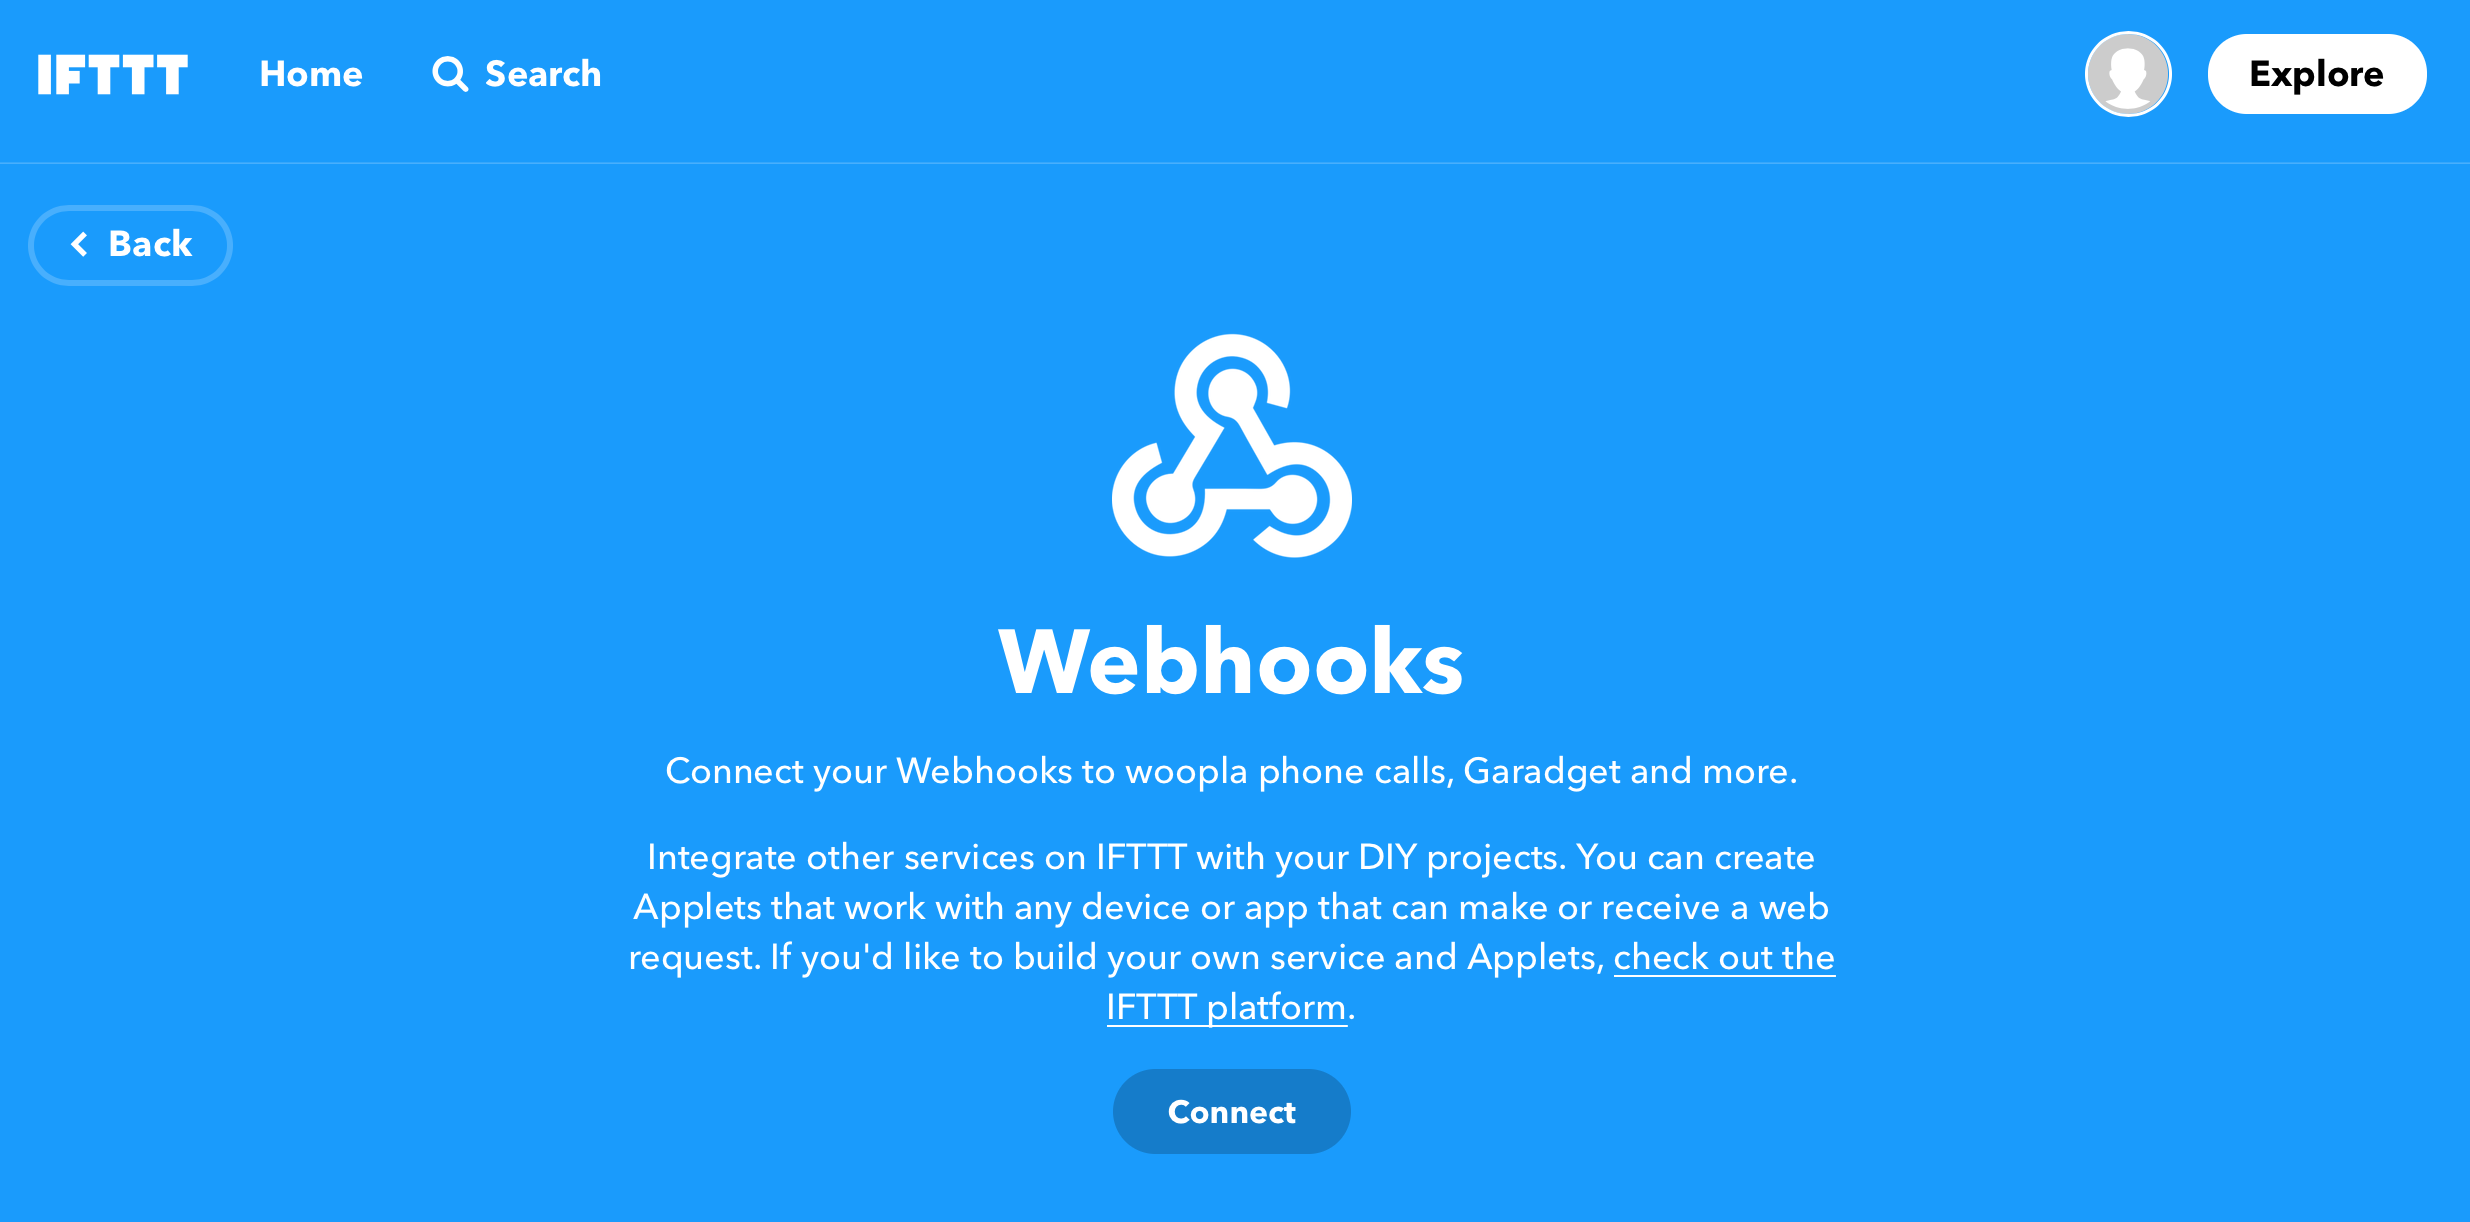
- Add the Webhooks Service by navigating to their page and selecting “Connect”
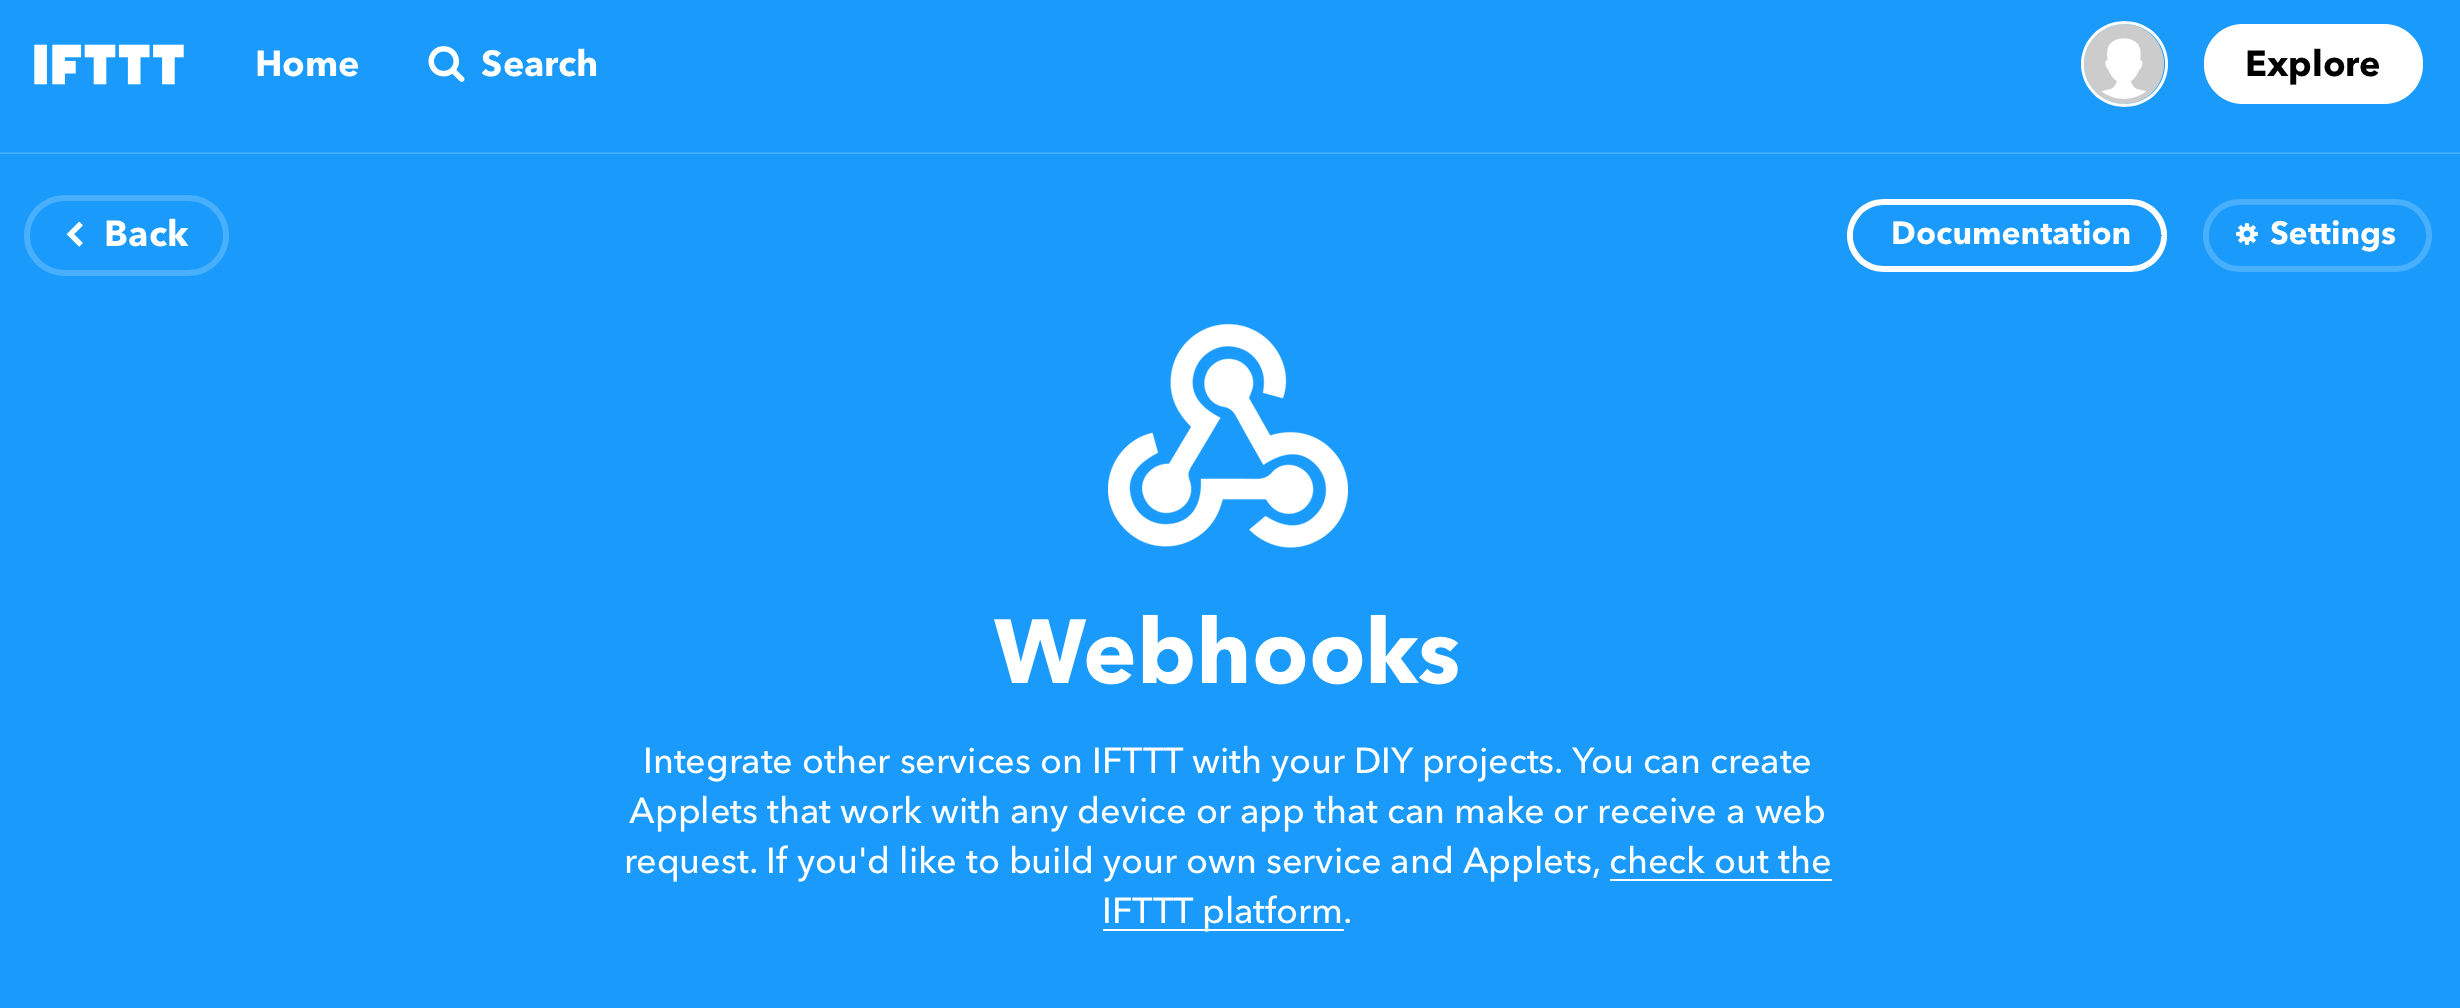
- After successfully setting up Webhooks, you should now see a “Documentation” Button. Clicking that reveals a page with you Webhook API Key. Save this page for future use.
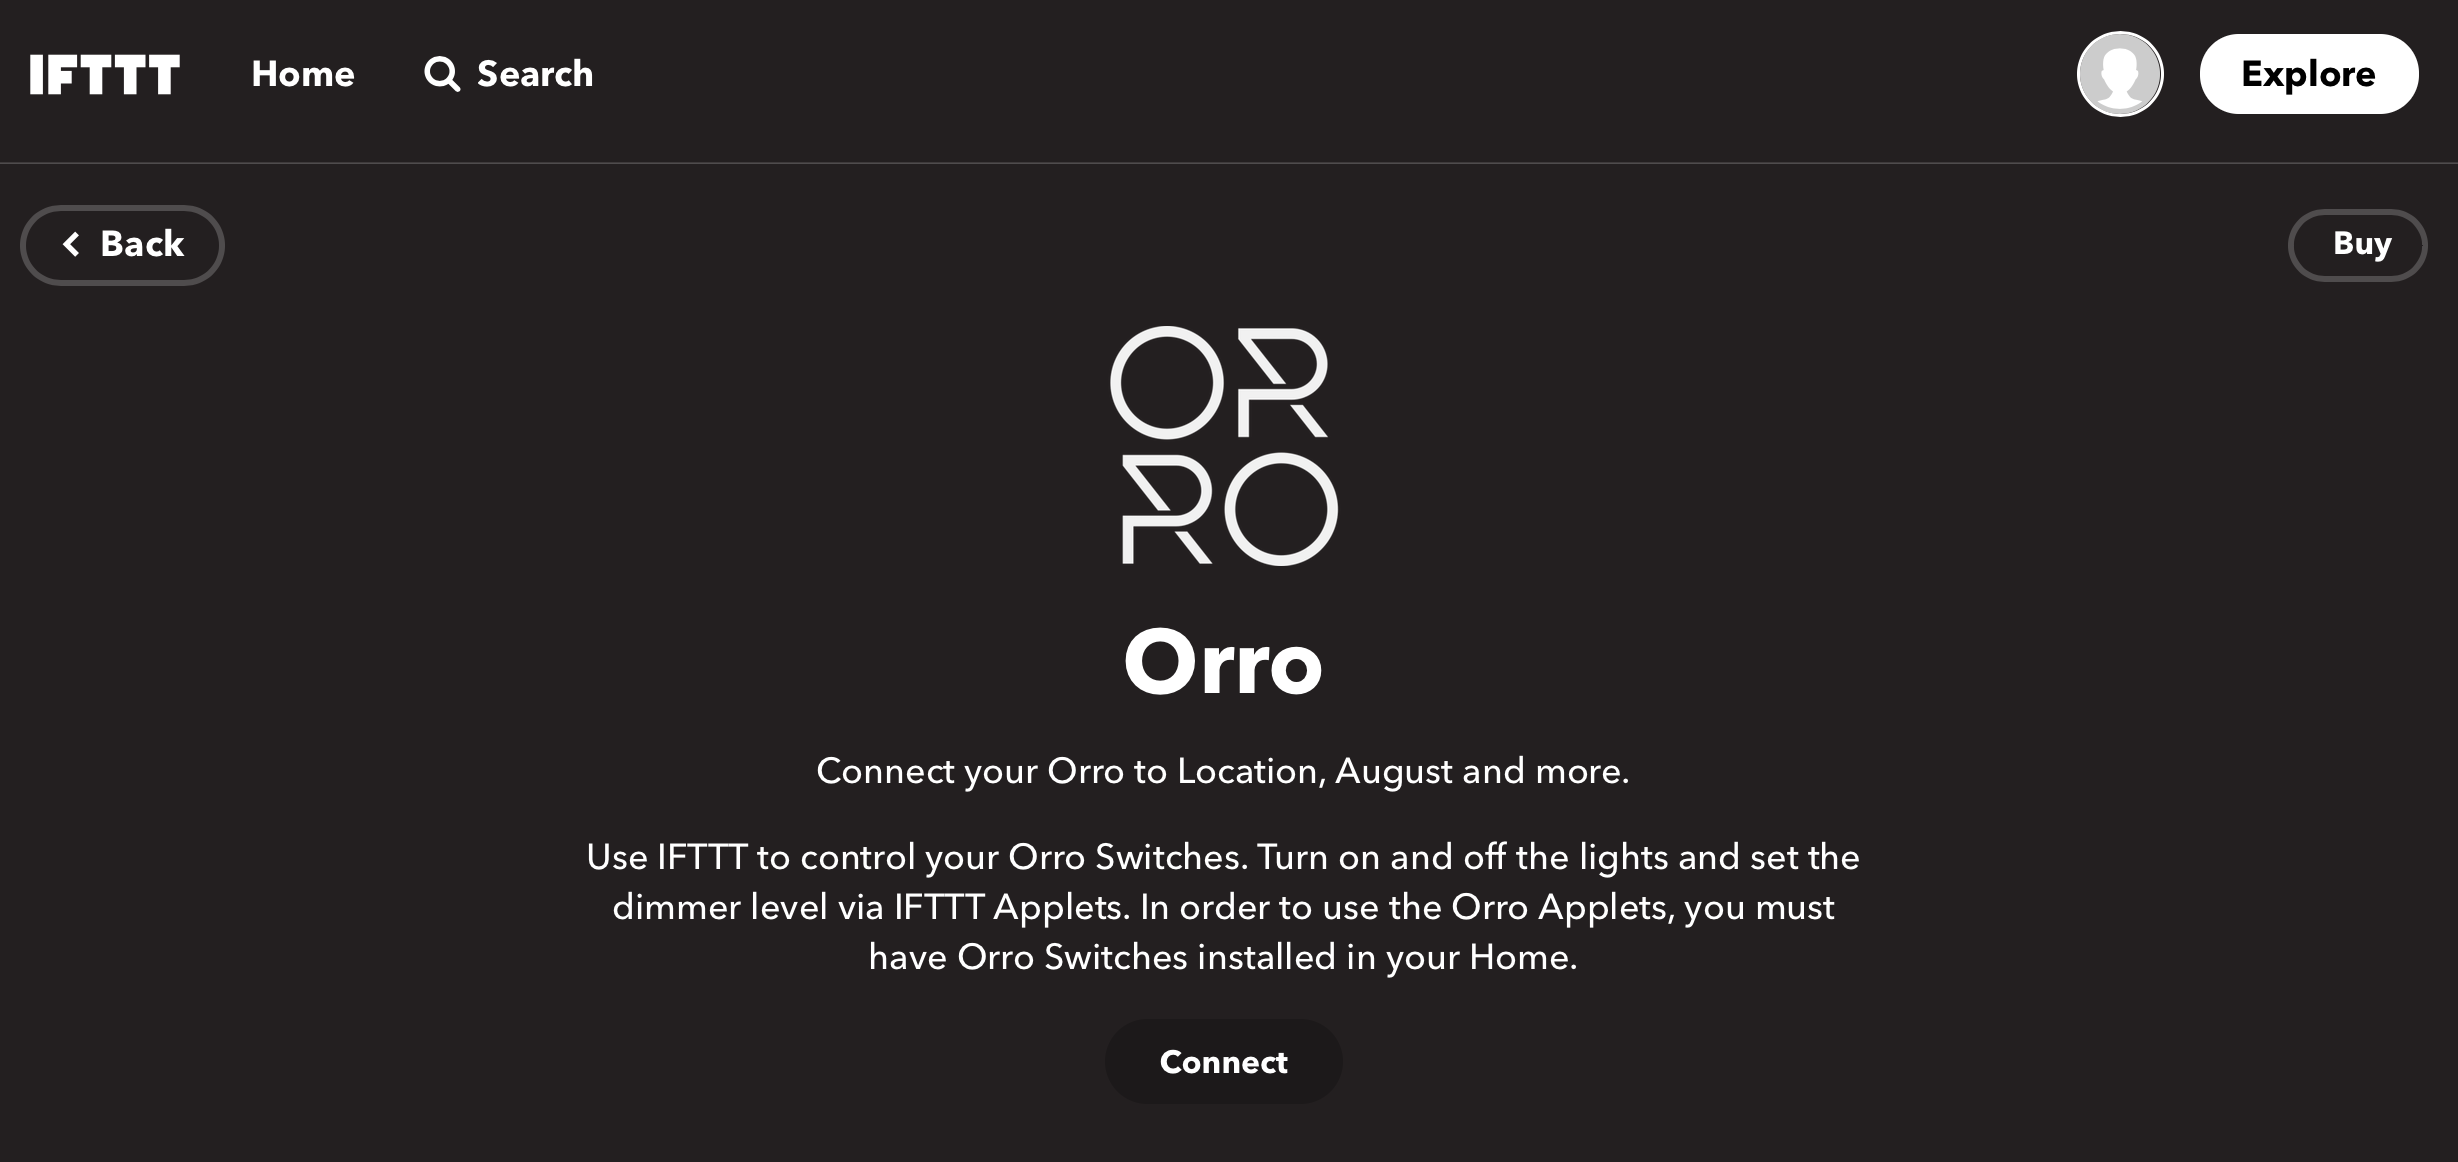
- Add the Orro Service (or other services), select “Connect”, and sign in with your account.
Create Applets
For each switch, you need to make 3 applets, 1 for on, 1 for off, and 1 to set a specific dimming level. The steps below can be repeated for each applet.
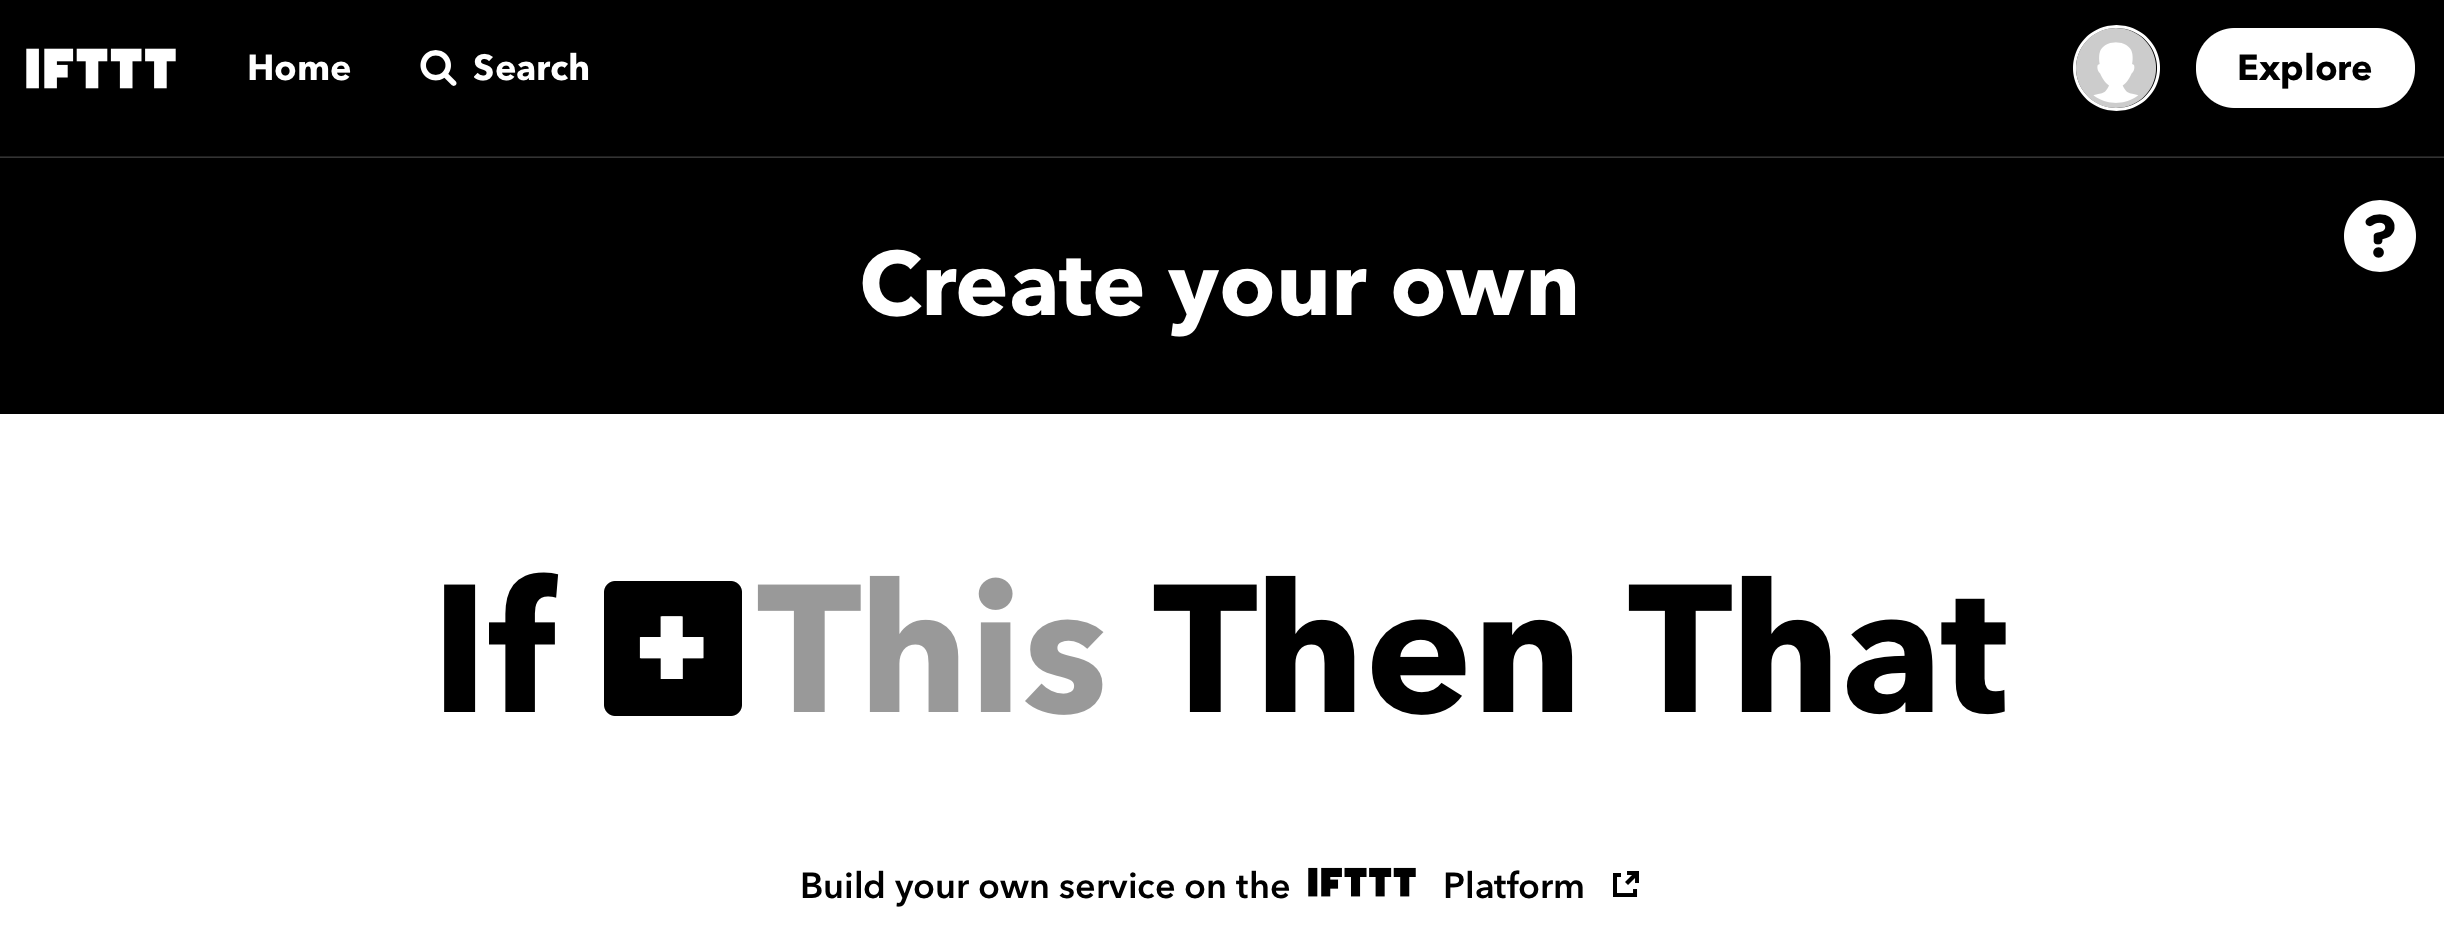
- Navigate to the IFTTT create page here
- Click “+ This”
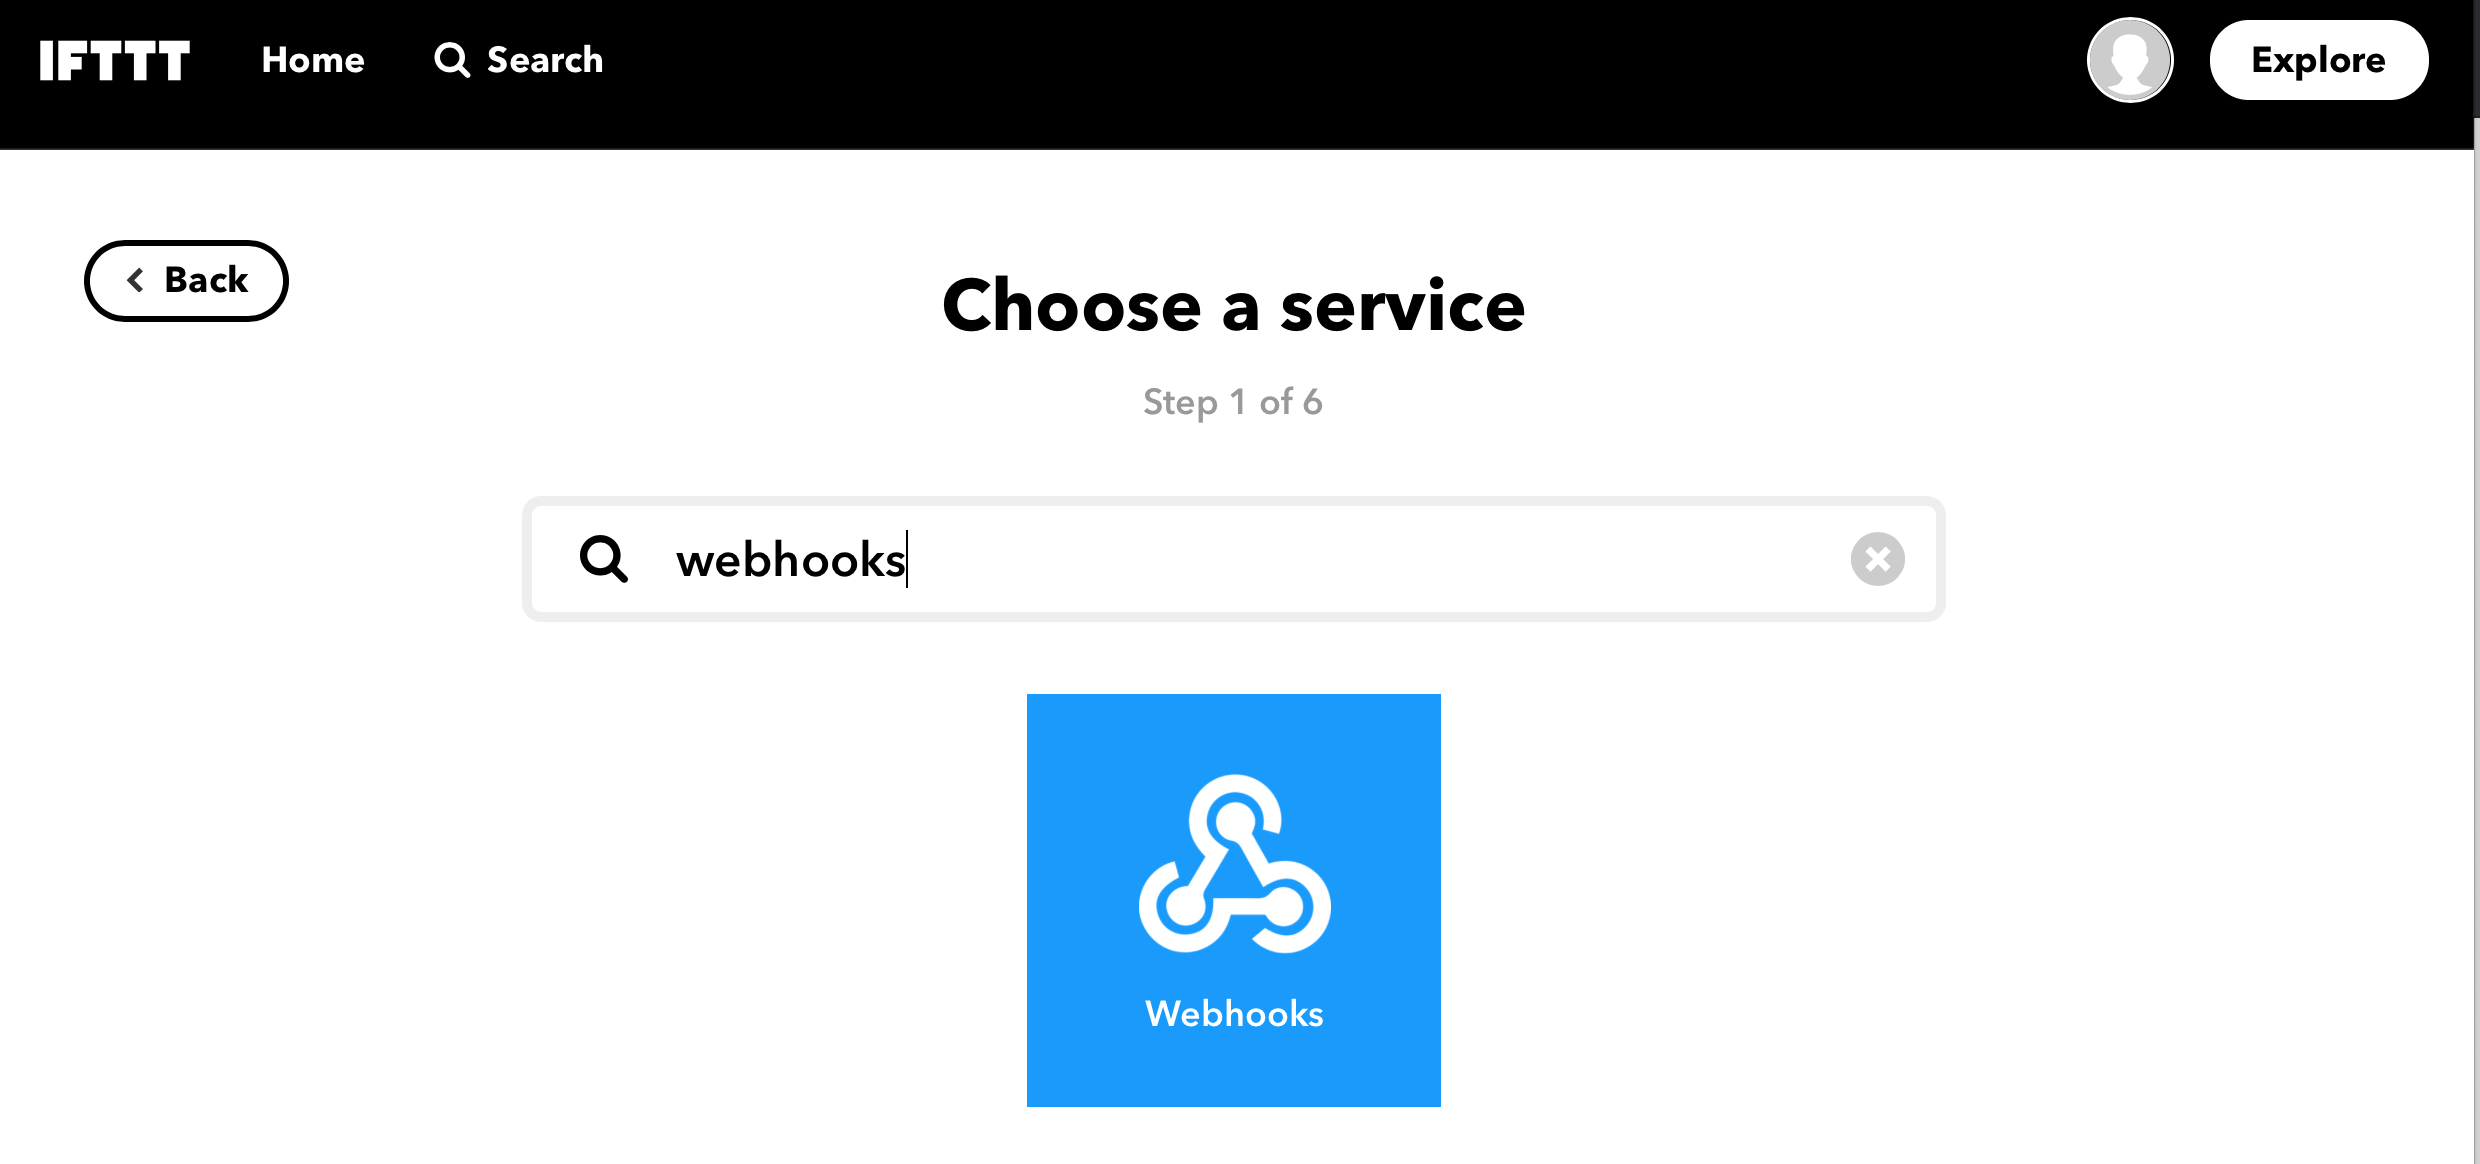
- Search for and select “Webhooks”
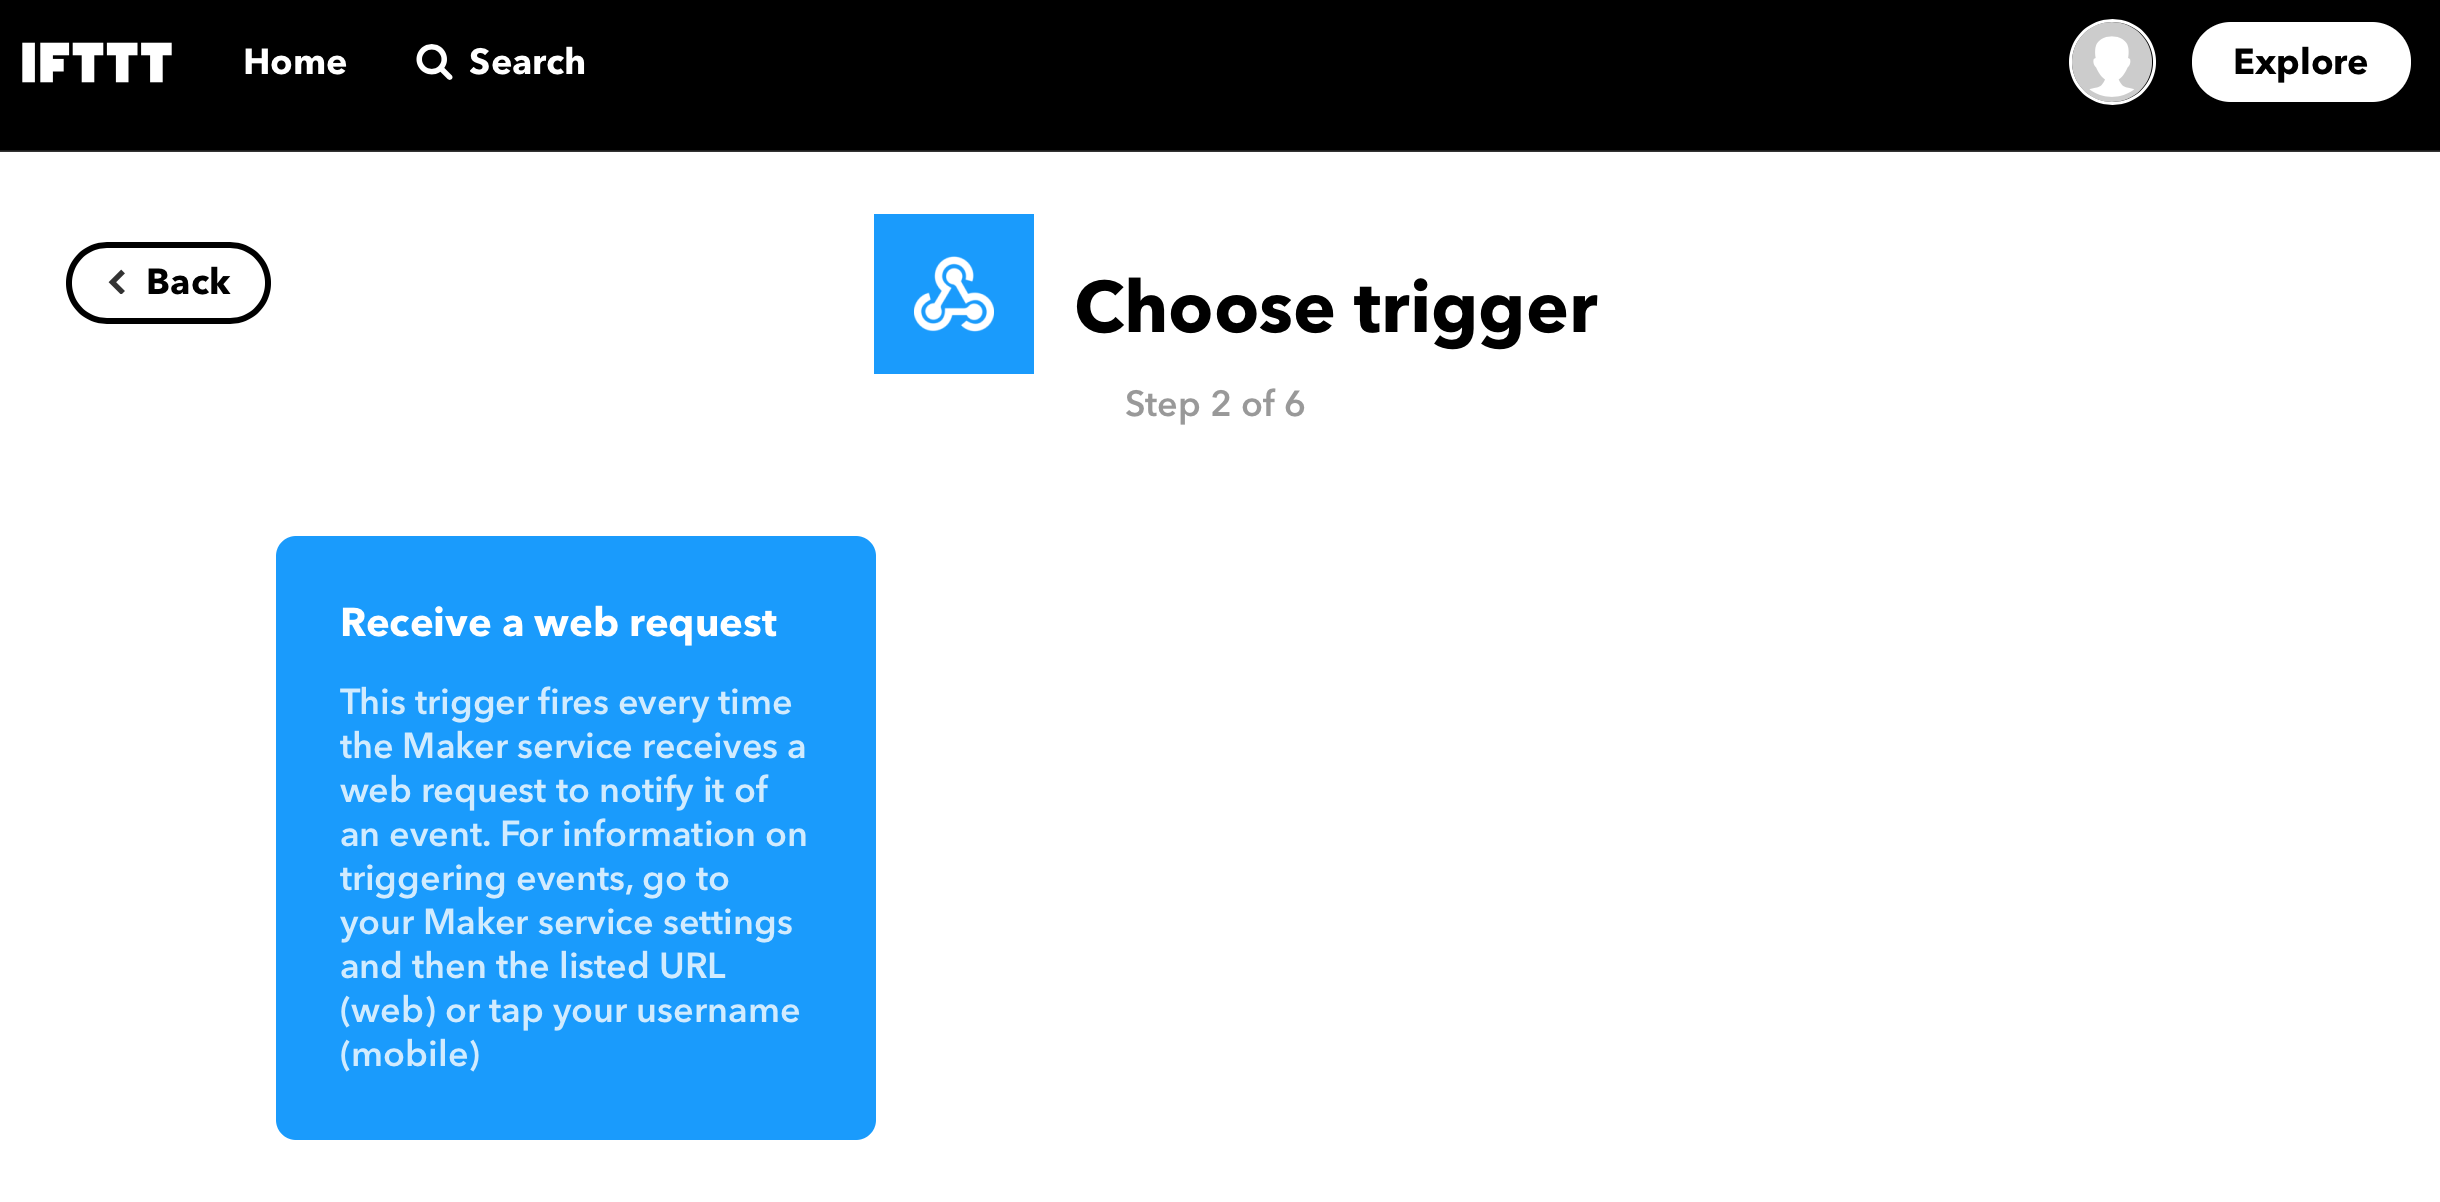
- Choose “Receive a web request” as trigger
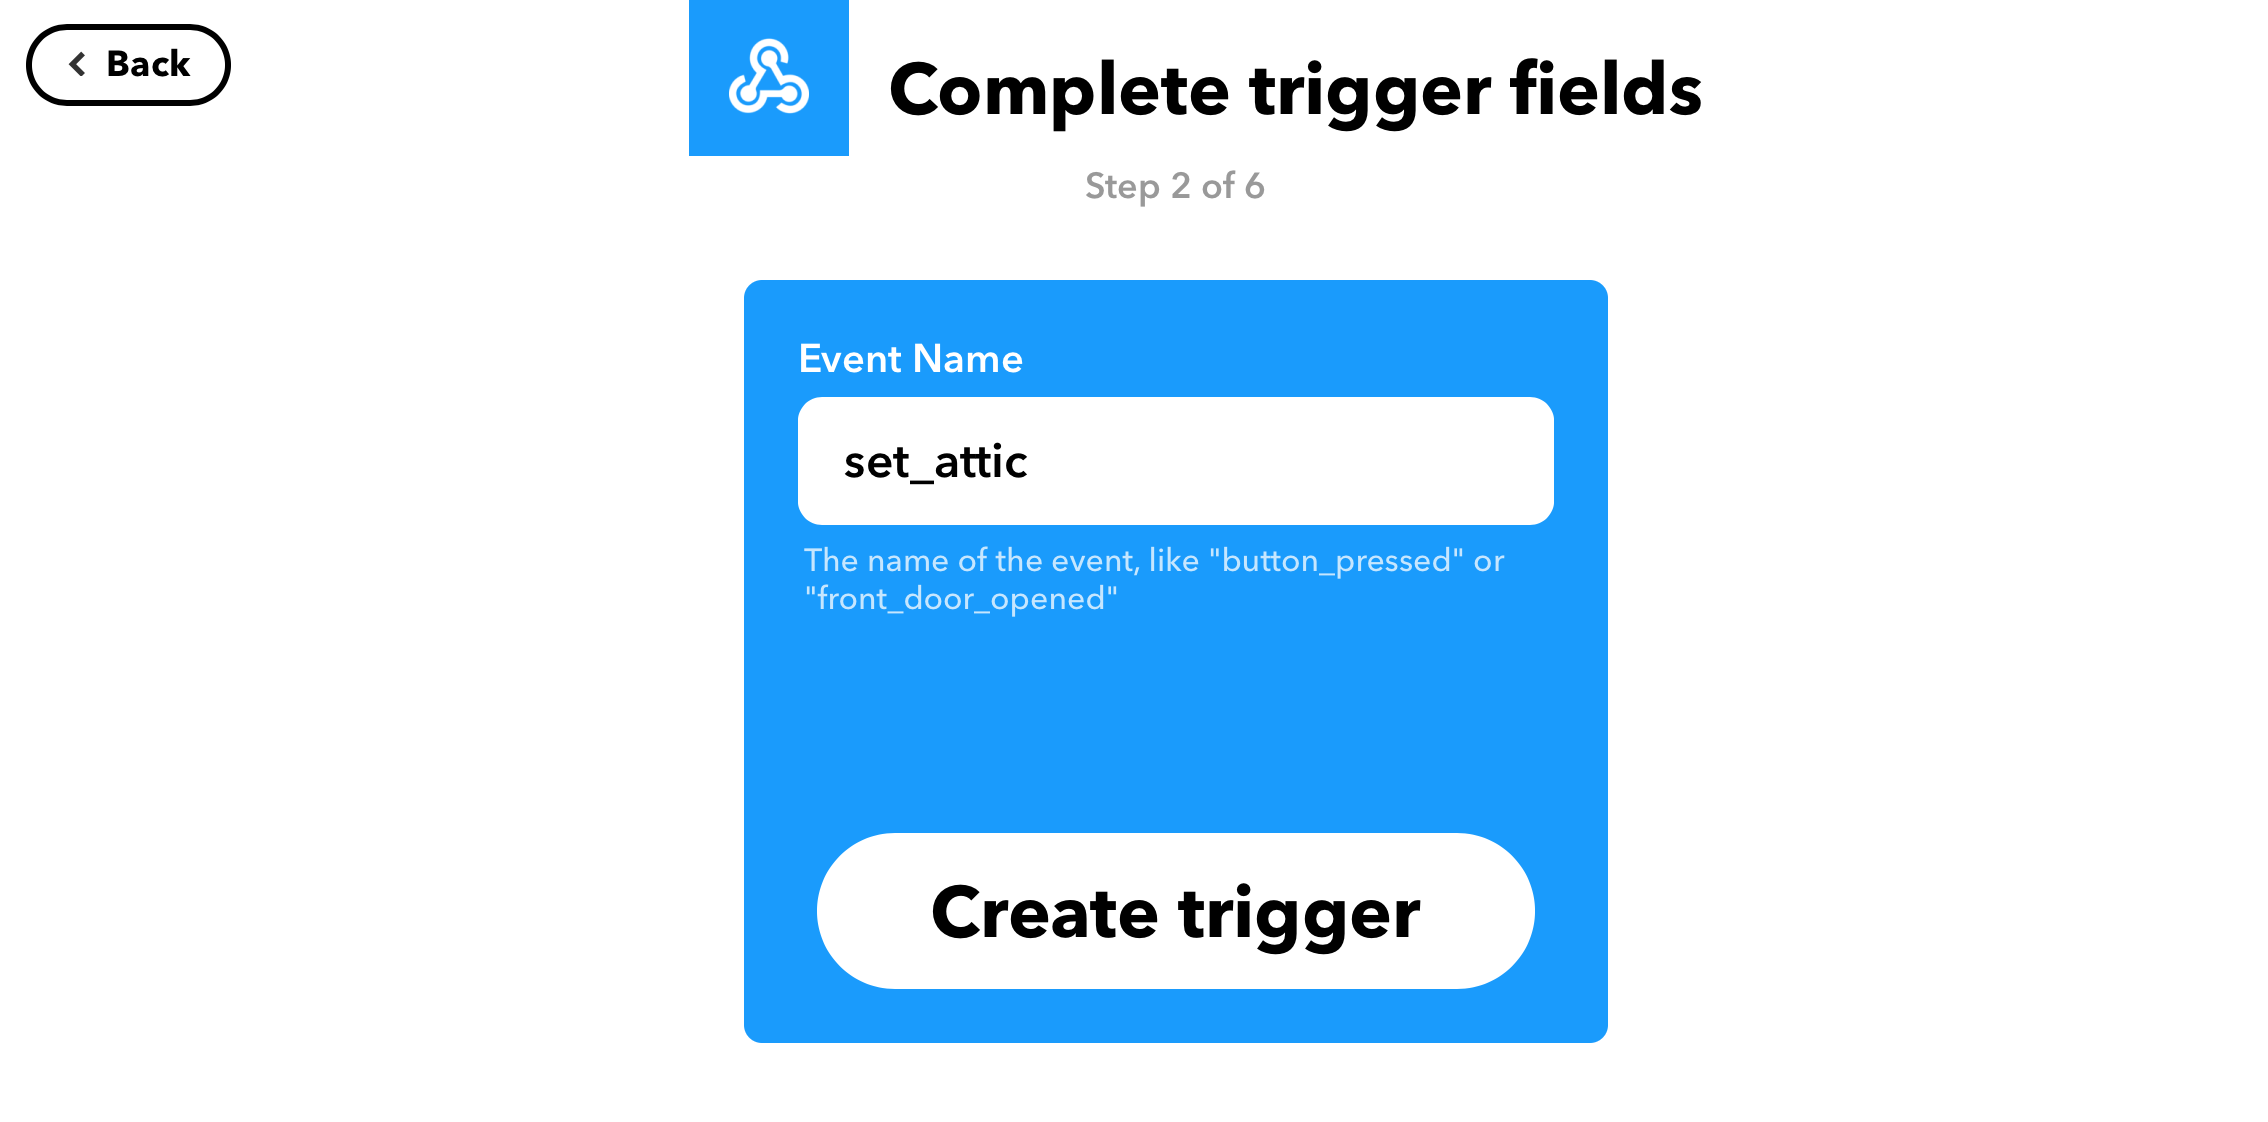
- Enter an event name signifying action and switch, and “Create Trigger”. This will be needed later. For example, for an Attic switch: “turn_on_attic”, “turn_off_attic”, or set_attic”
- Click “+ That”
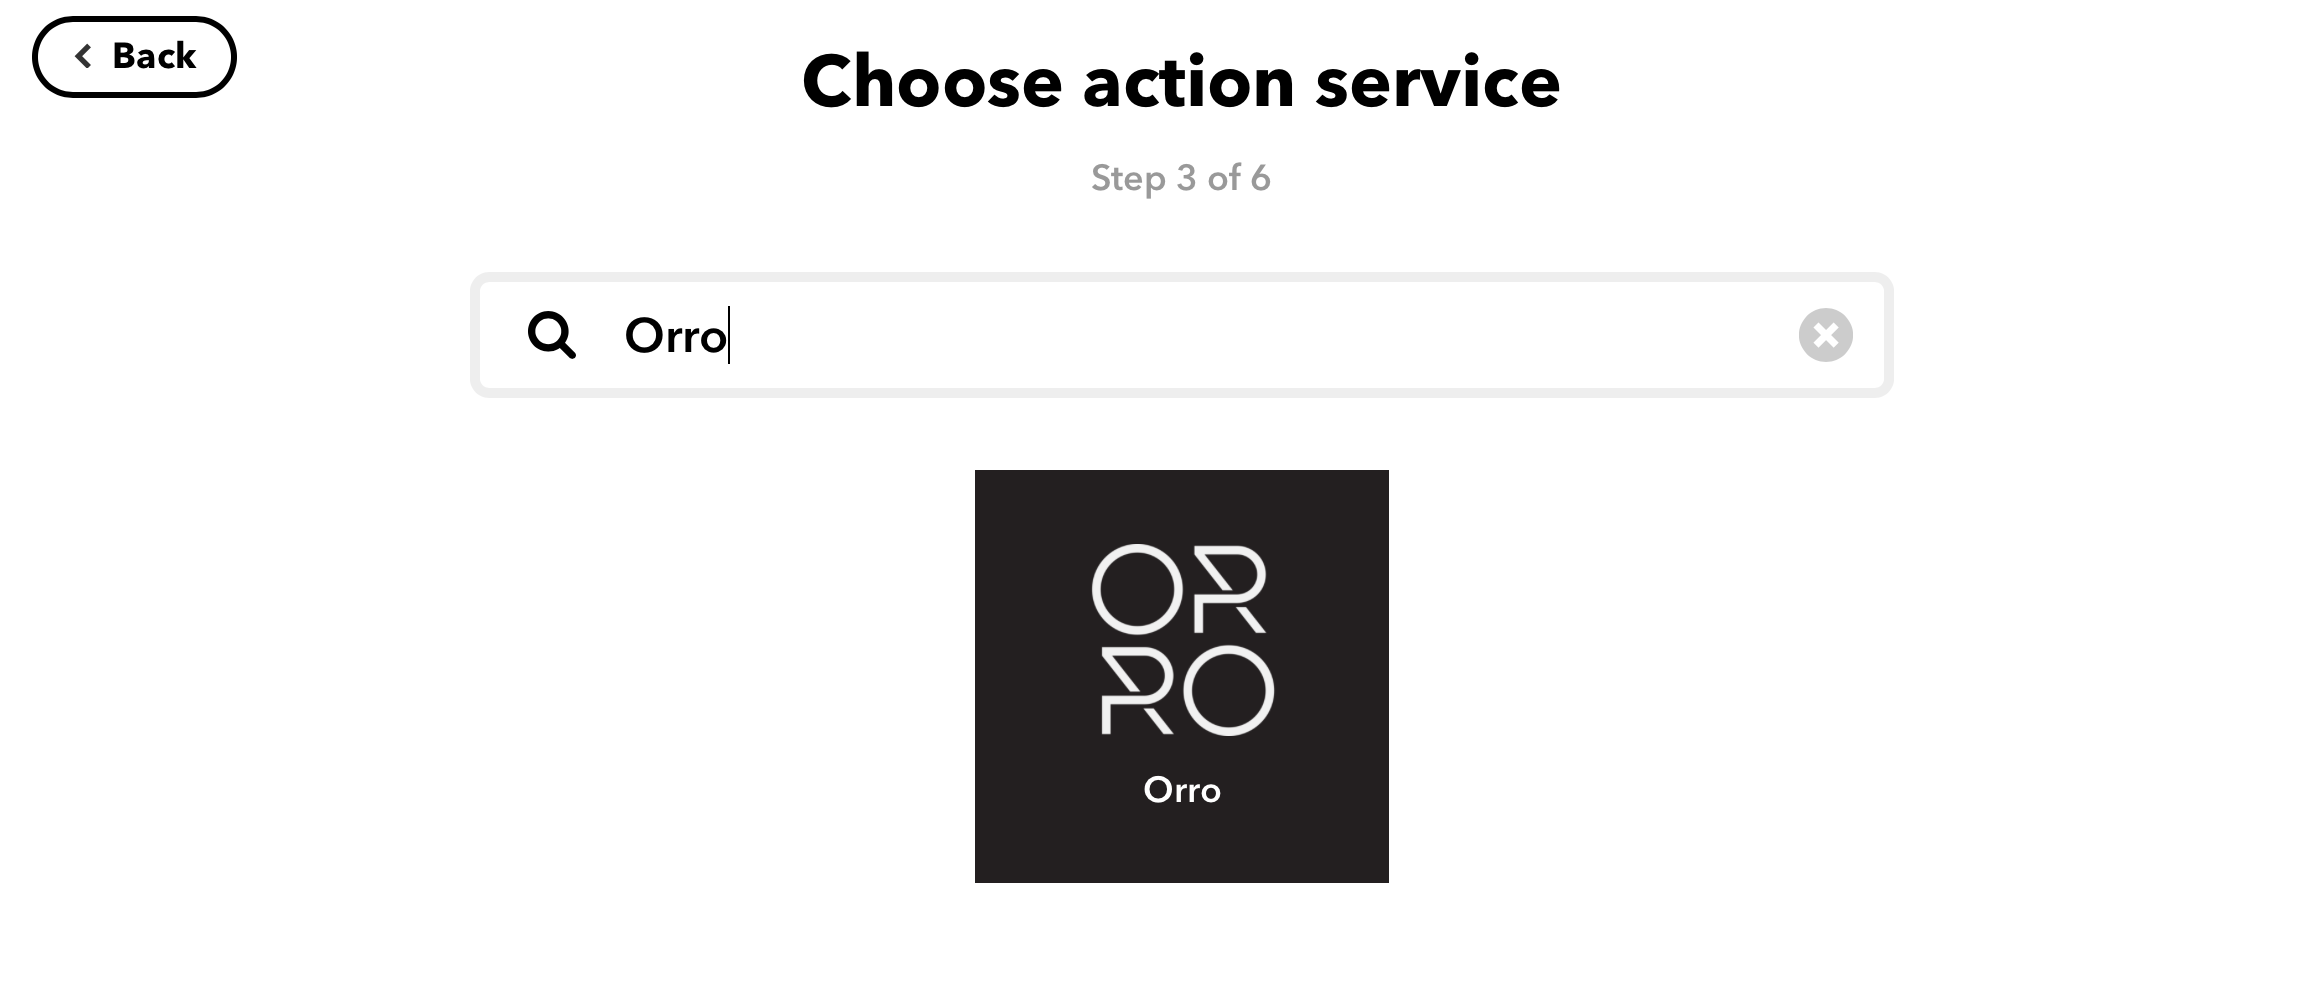
- Search for and select “Orro”, “Hue”, or other compatible lighting services
- Select the appropriate action (Turn ON, Turn OFF, or SET)
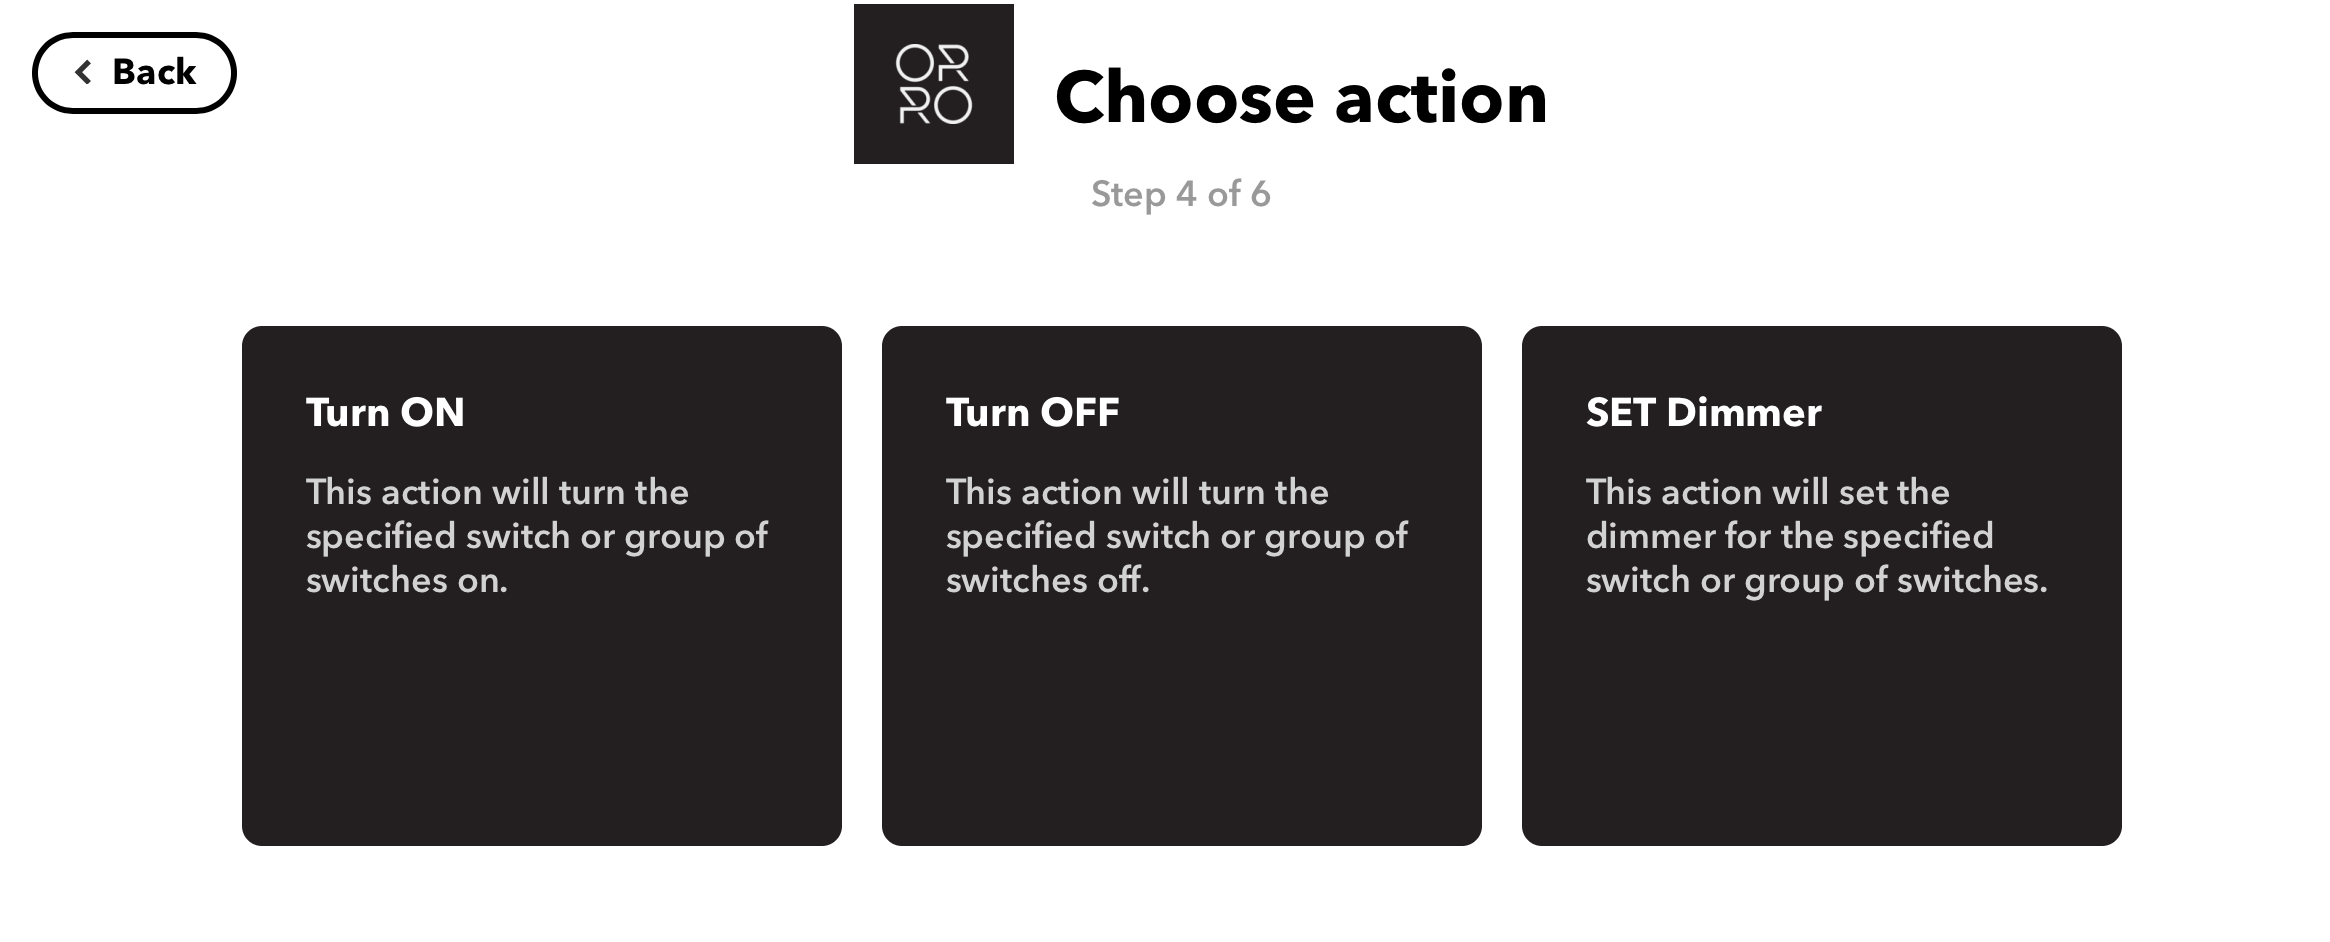
- Select which of your switches it should control
- When doing SET, click the “Add Ingredient” button and select “Value1”
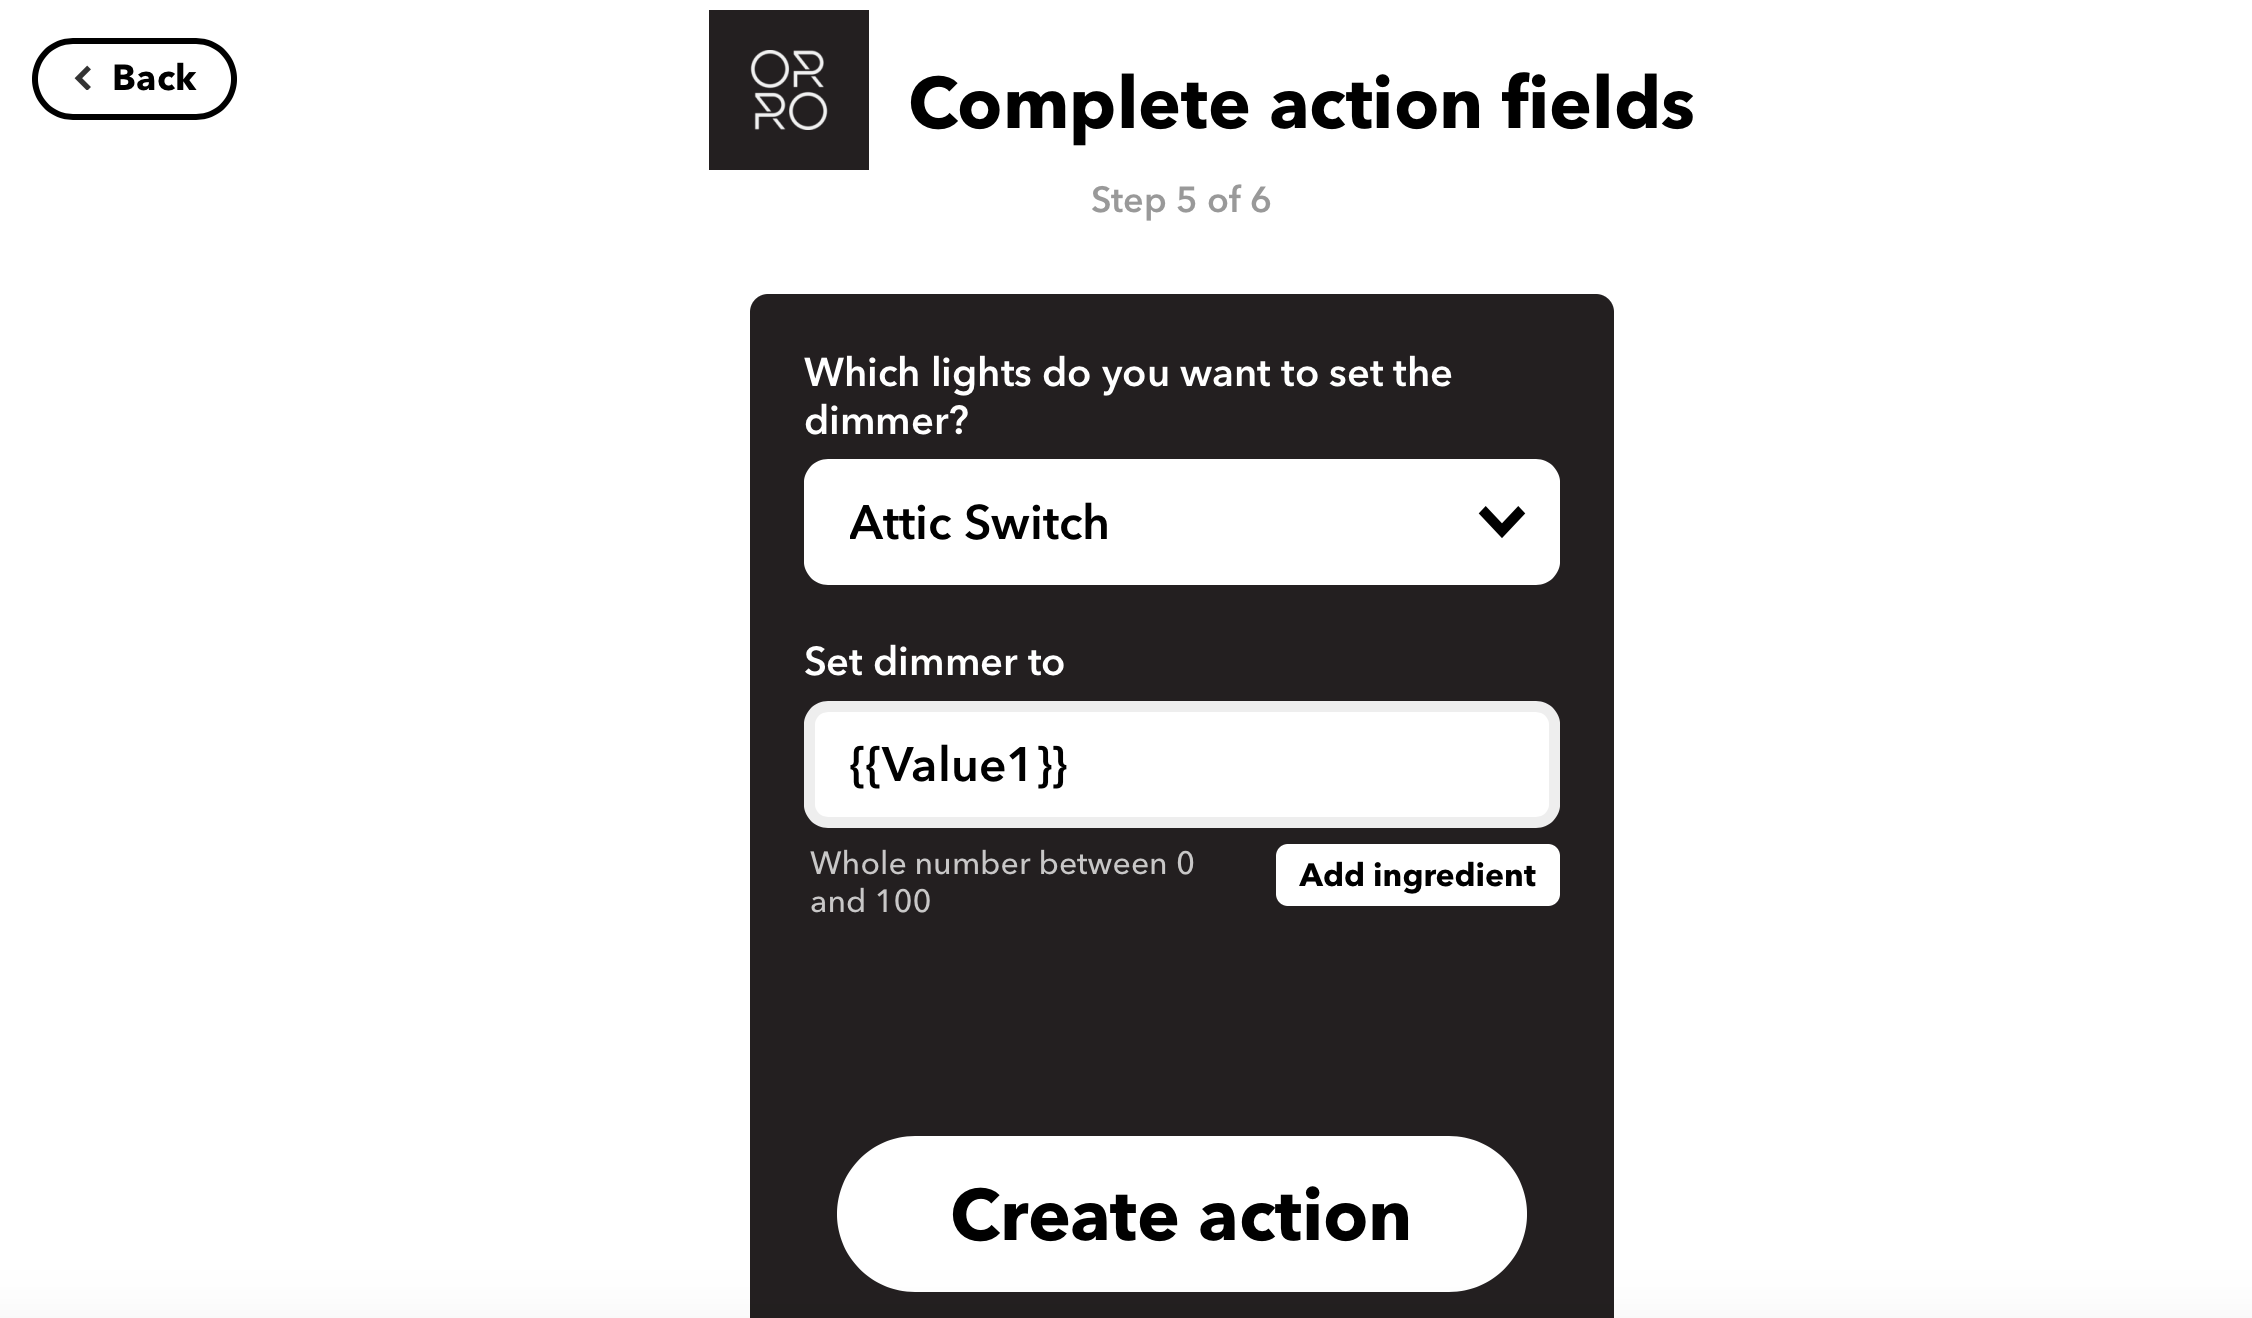
- When doing SET, click the “Add Ingredient” button and select “Value1”
- Select “Create Action”
- Review your event and select “Finish”
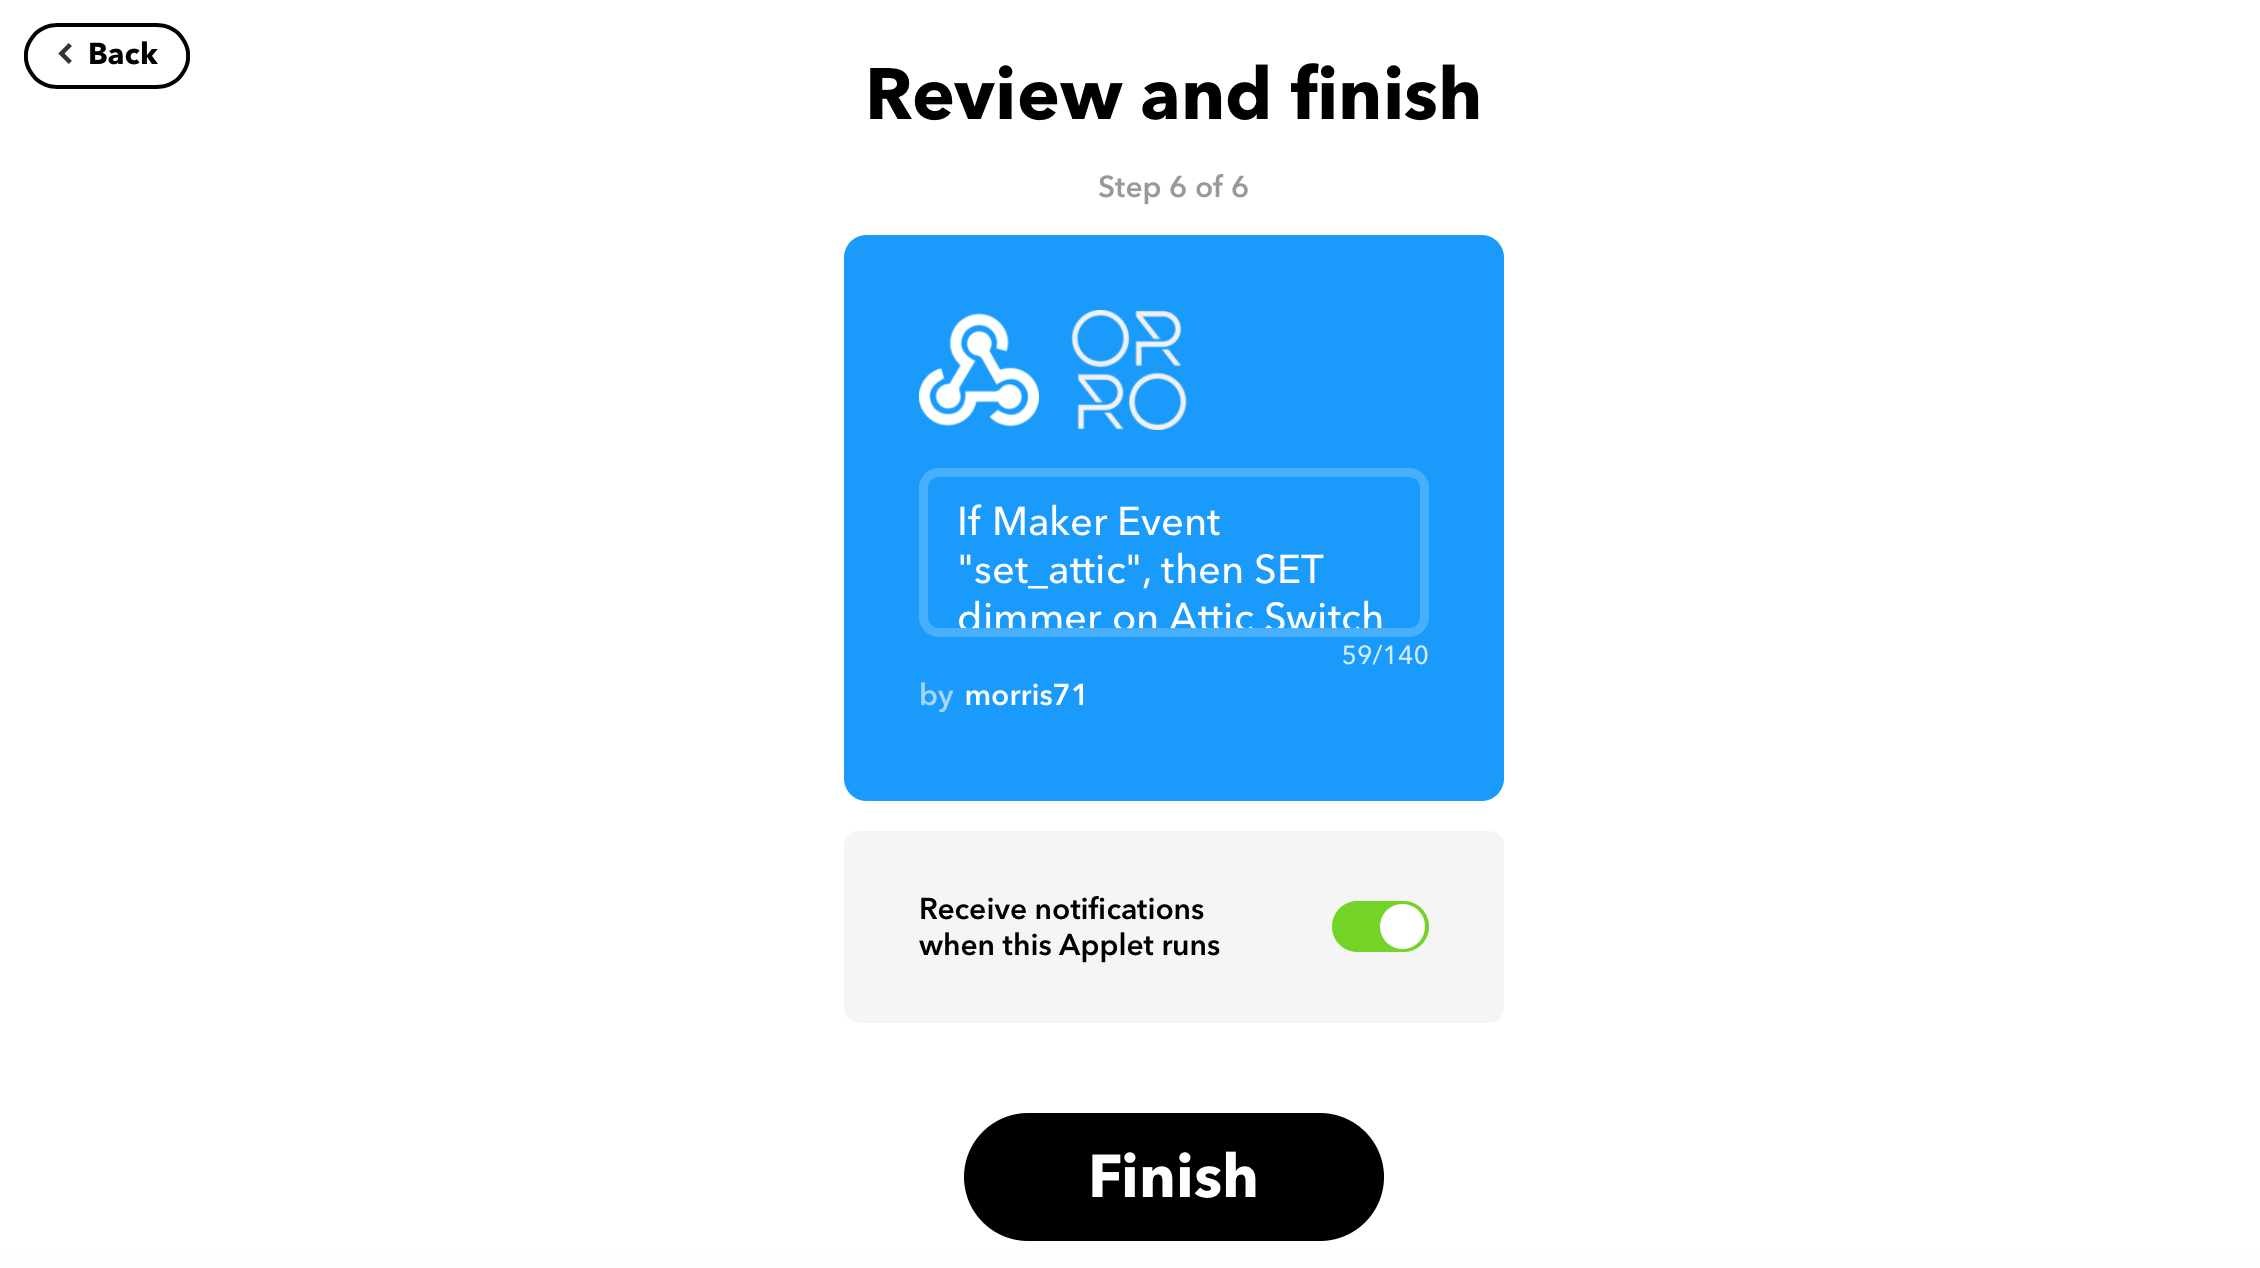
- Optional: You can test your new event from the Webhooks Documentation page and ensure it performs the desired action
Add Rooms
Once you have created 3 applets (for turn on, turn off, and set level of a switch), you can use the event names and the webhook api key to add the control to the Spark Director App!
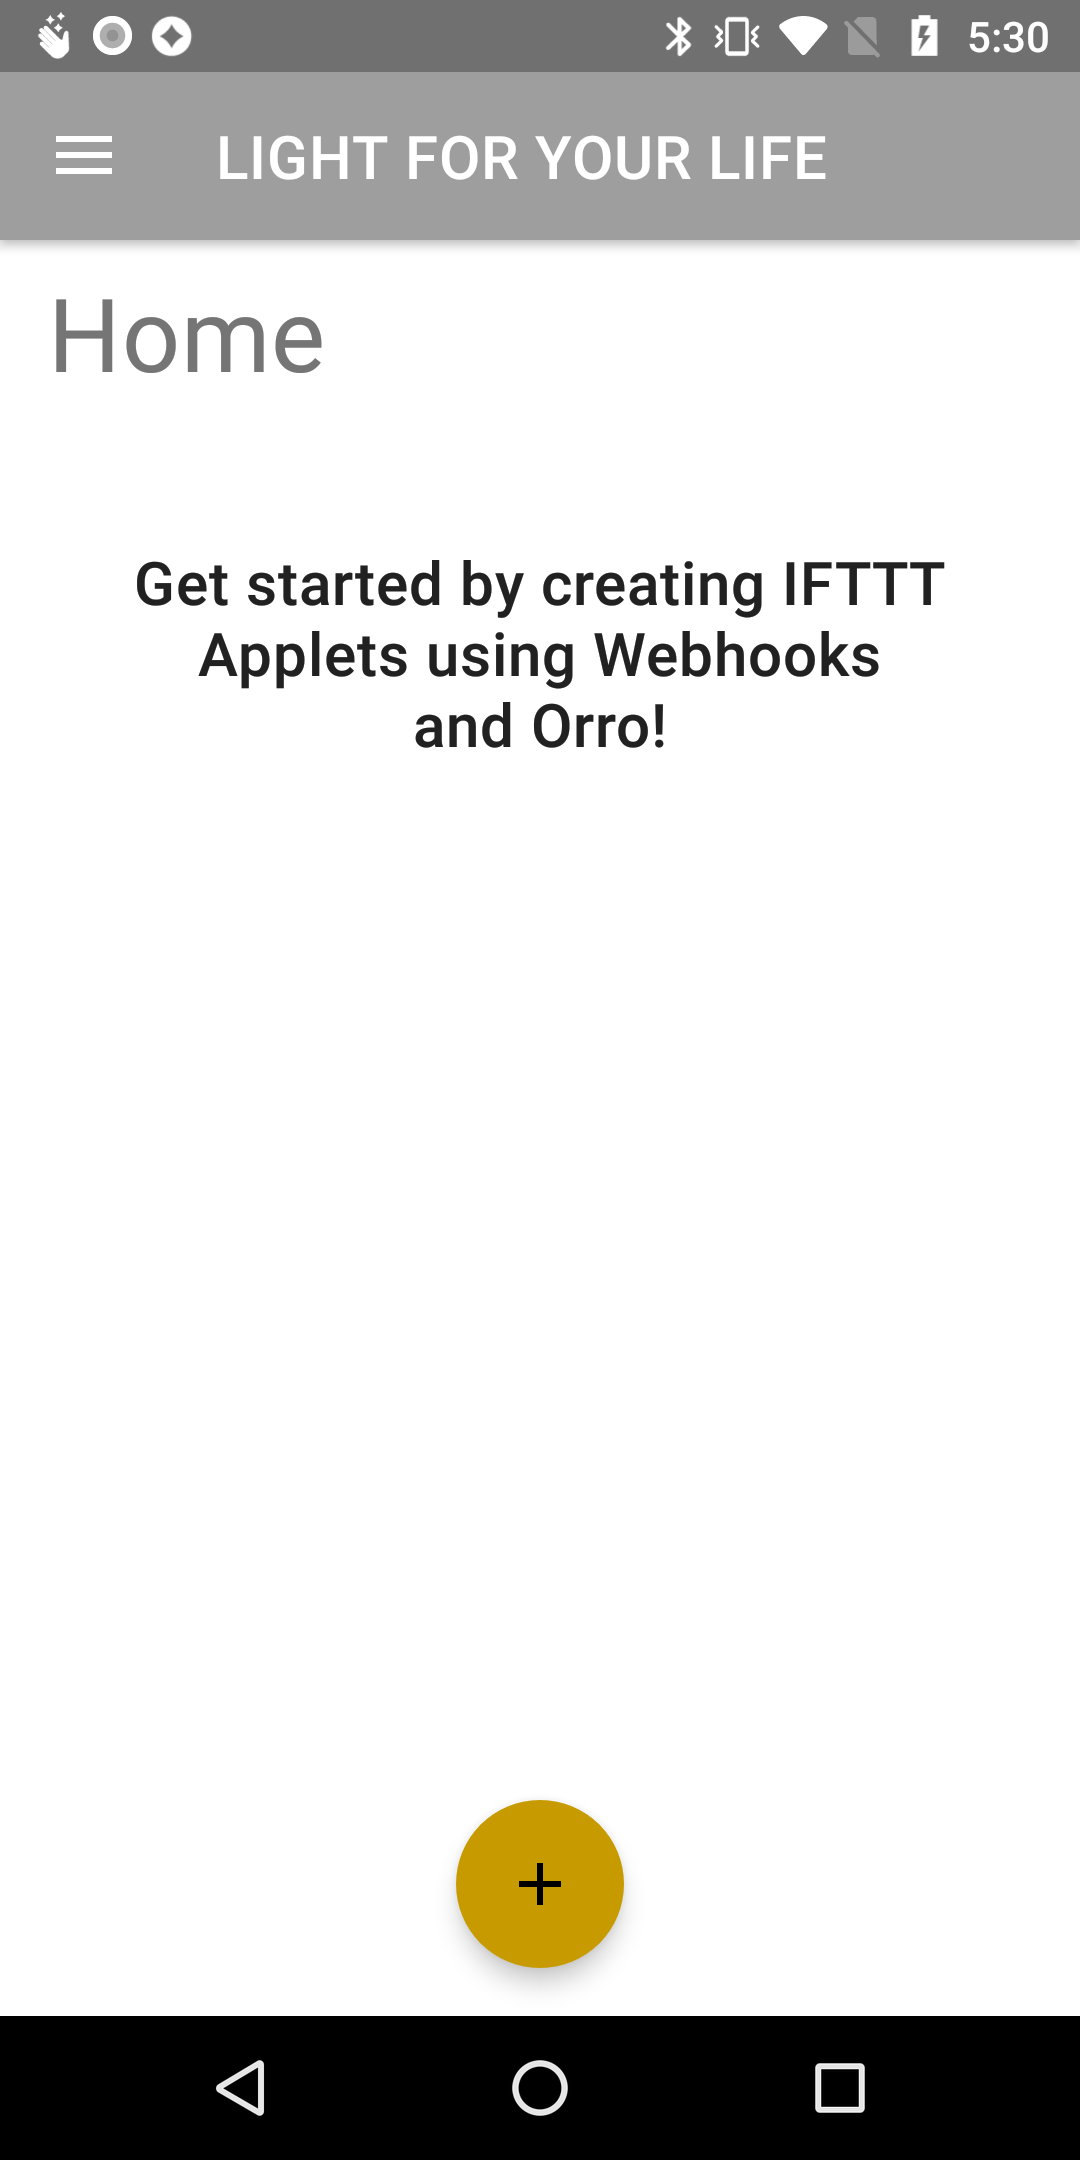
- On the home page of the Spark Director app, tap the “+” icon on the bottom of the screen.
- Enter a room name, e.g. “Attic Switch”
- Enter the event name for the turn on action you previously created, e.g. “turn_on_attic”
- Enter the event name for the turn off action you previously created, e.g. “turn_off_attic”
- Enter the event name for the set action you previously created, e.g. “set_attic”
- Enter the Webhooks API Key from the webhooks documentation page. (Don’t worry, you only have to enter this the first time. Will be saved and autopopulated for other rooms).
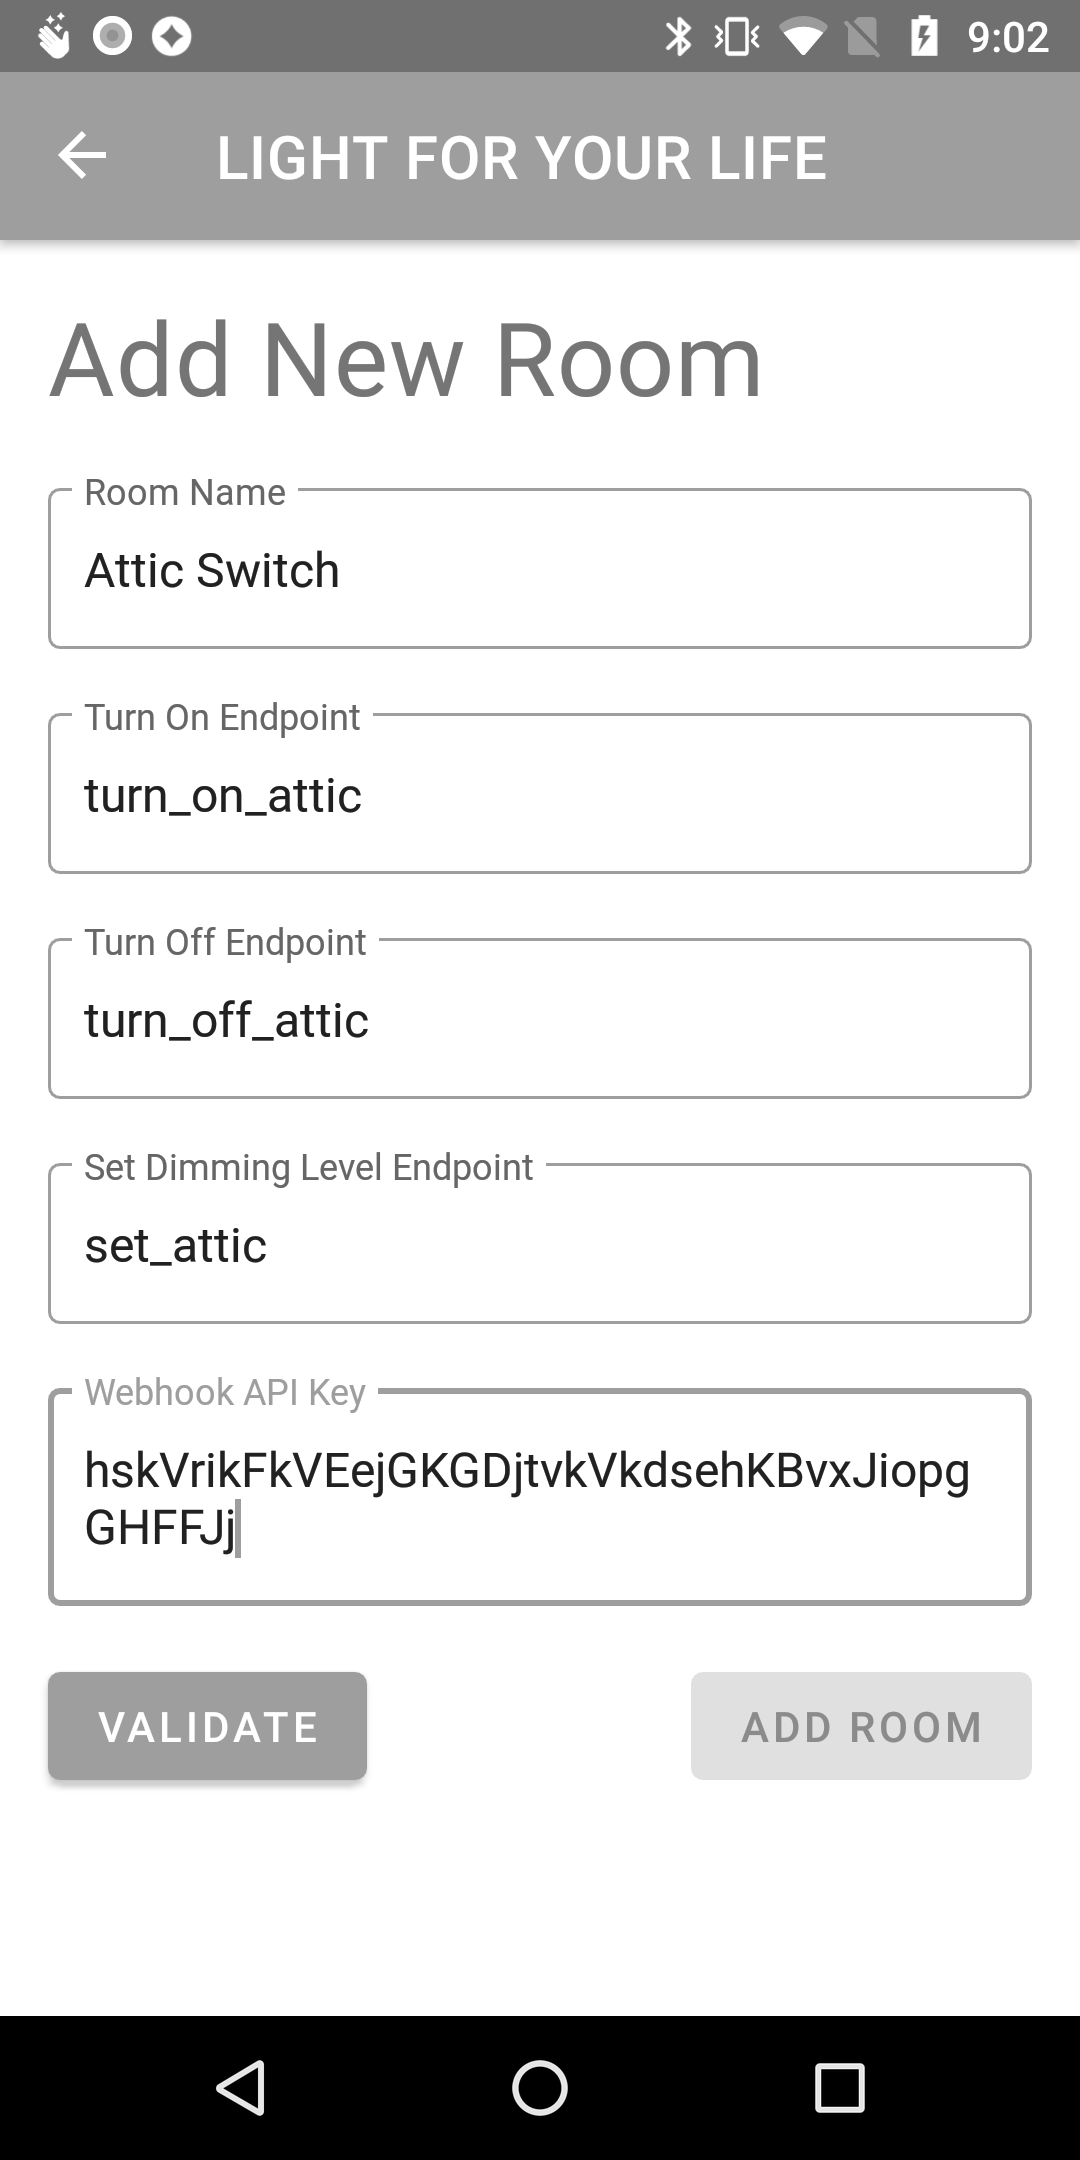
- Select “Validate”. This will ensure the Webhok API Key you entered is valid. If so, the “Add Room” button will be enabled
- Select “Add Room”. The room should now be added to the home page, and the On and Off buttons and the slider should control the light!
