RPi Photobooth
This post details the DIY photobooth I created featuring a RaspberryPi and was debuted at my wedding! It has been contracted for one other wedding as of this writing. I found the development and testing of this project was the best part of the wedding planning!
Design Overview
Photobooths at weddings/parties started to become trendy as far as I was aware around 2016. When I first looked into the cost of renting one of these, I was shocked that they could cost between $500 and $1000! Like any engineer, I decided this was ridiculous and I could make one for far less money.
The raspberry pi and camera module were a logical choice for a custom photobooth at a low cost. The biggest questions for me were “What was the best way to take the picture?” and “How should the guests get a copy of picture?” After a few iterations using a remote trigger, and an Amazon Echo, among other things, below is the final result I implemented.
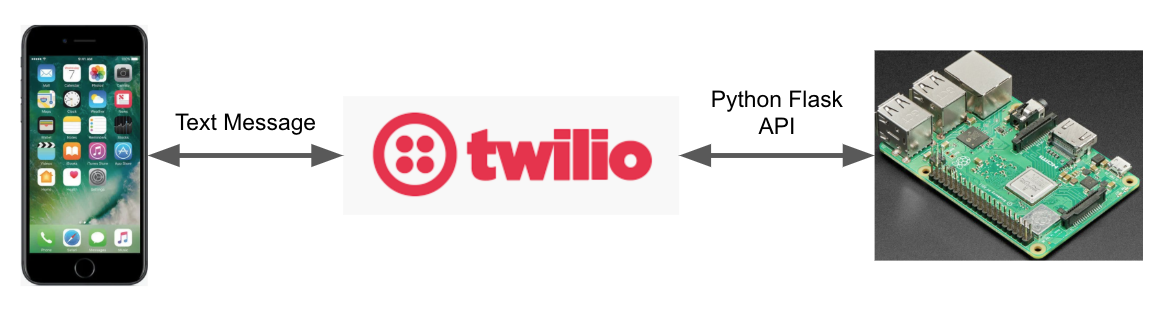
To start the photobooth countdown clock, the guest texted the word “Snap” to a specific number. I used the Twilio platform to receive these text messages and forward them to the Rasperry Pi hosting a Python Flask application. This python app then was responsible for taking the picture, uploading the photo to a Google Drive, and responding to the guest with a text containing the link to the photo. A proof of concept video made during development is shown below.
Hardware Requirements
- Raspberry Pi 3B+ with case
- RPi Camera v2
- Old LCD monitor
- Props, lighting, background, frame
- Wifi or ethernet connection at location
- Total cost: $75
Dependencies
This project was built using Python 2. On a clean install of RPi Raspbian OS. Install the following python packages:
Source Code
The python flask app can be found here. These can be placed in a folder on the desktop of the RPi, and a link to the bash script on the desktop to easily launch the flask app with just a WiFi mouse.
Networking
One of the biggest challenges that I had for a while was determining how to easily expose the webserver running locally on the Pi to the outside so the Twilio services could access it. For a while during testing, I used ngrok to open the http port on the pi and expose it at a randomly generate URL. However, the downside of this was the URL would change every time I ran it, so I would have to keep updating the Twilio webhook. For testing this was okay, but I wanted a more robust solution so that set up was as simple as possible on the wedding day and could be set up by someone other than me.
PiTunnel
Luckily, a few months before the wedding, I learned of PiTunnel. This promised a way to open a remote tunnel to the HTTP port at a static URL (based on my account name). I only had to configure the service on the Pi, and add some lines to the /etc/init.rc script to open the tunnel on boot, so everytime I turned on the photobooth, the HTTP port was exposed to the URL expected by Twilio! Setup of the photobooth was now a breeze!
Photobooth Display
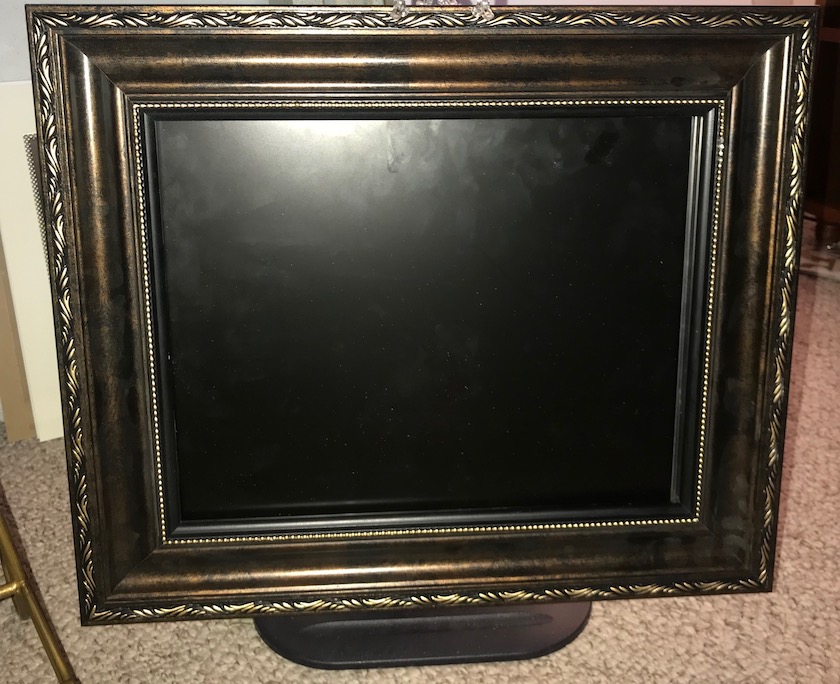
As excited as I could be about the tech behind the photobooth, it would be all for naught if it wasn’t presented in a nice and pleasing enclosure. Instead of just using the boring LCD monitor with bezel, I recruited my cousin to build a beautiful wood frame. Placed around the monitor, the screen looks like a picture in a picture frame. The RPi case with the camera sits above the top of the monitor, connected to the monitor via HDMI. She also made a bunch of props for guests to pose with in pictures! Our venue provided a background drape and some overhead lights, and we had a photobooth!
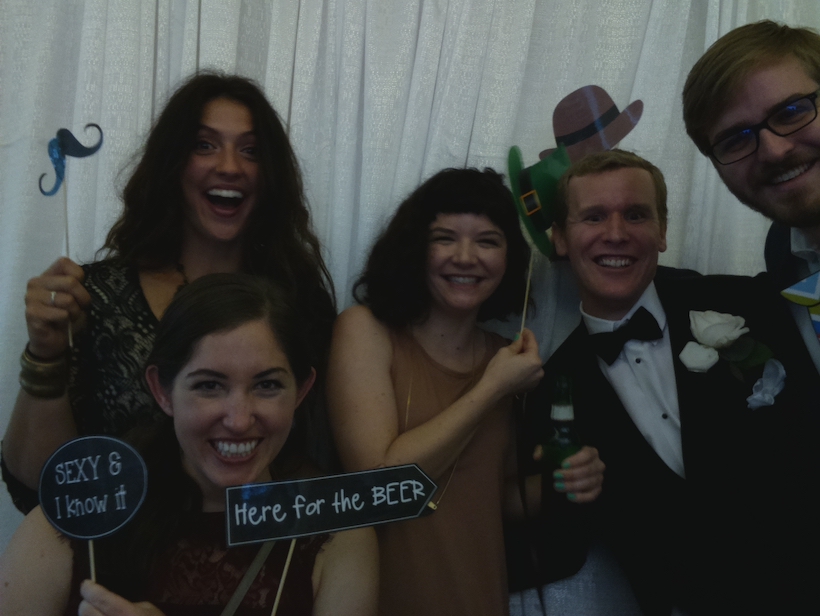
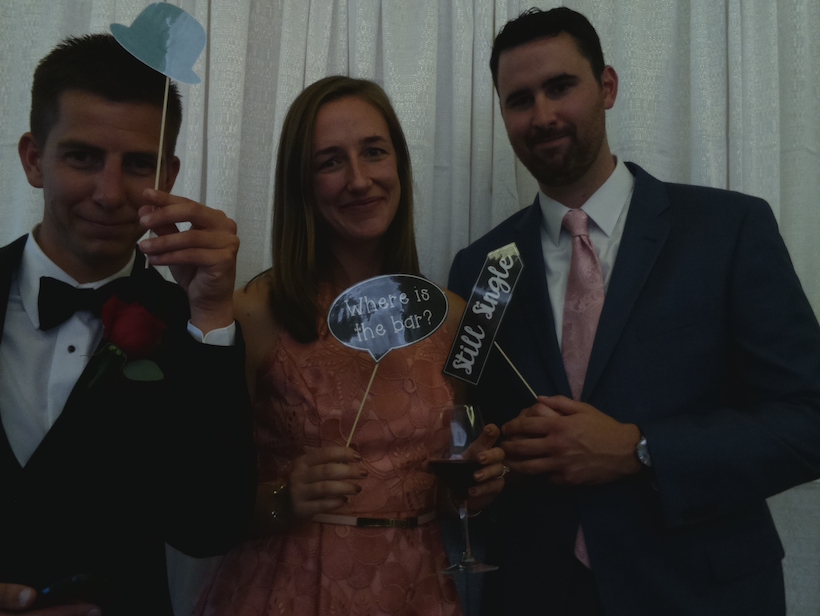
Results
In all, the photobooth went off without a hitch at our wedding! I have a terrific wife who let me run wild on this project which left her free to worry about all of the other details! Our guests enjoyed the photobooth and we had a lot of great photos! I was excited when I saw some of these posted on social media! One of my friends asked to use it at his wedding a few months later! Here are some of my favorites!